This post may contain affiliate links. Read my disclosure page here.


Learn how to make creamy, flavorful hummus at home with simple ingredients. This easy hummus recipe is smooth, delicious, and perfect for dipping or spreading. Ready in minutes!
Save This Recipe
Enter your email and we’ll send the recipe directly to you!
By submitting this form, you consent to receive emails from Delicious Meets Healthy.
How much do I love hummus? Let me count the ways!
Perfect to serve with pita chips and crudités as a sharing appetizer, or use it as a spread in sandwiches and wraps, this is one delicious Middle Eastern dip!
Most store-bought hummus lack in flavor and homemade is so wonderfully fresh and delicious. It’s so easy to make hummus from scratch when you know how!
Be sure to try my Spinach Artichoke Dip and Smoked Salmon Dip too!
Why You Will Love It
- Easy: Making homemade hummus is a pretty simple process. You need just a few ingredients and a good blender and you are ready to go!
- Great for a crowd: This authentic hummus recipe is easily doubled if you are serving more and it can also be made ahead of time.
- Healthy: Hummus is a tasty dip that’s naturally vegan and gluten-free, making it a versatile choice for various dietary preferences.
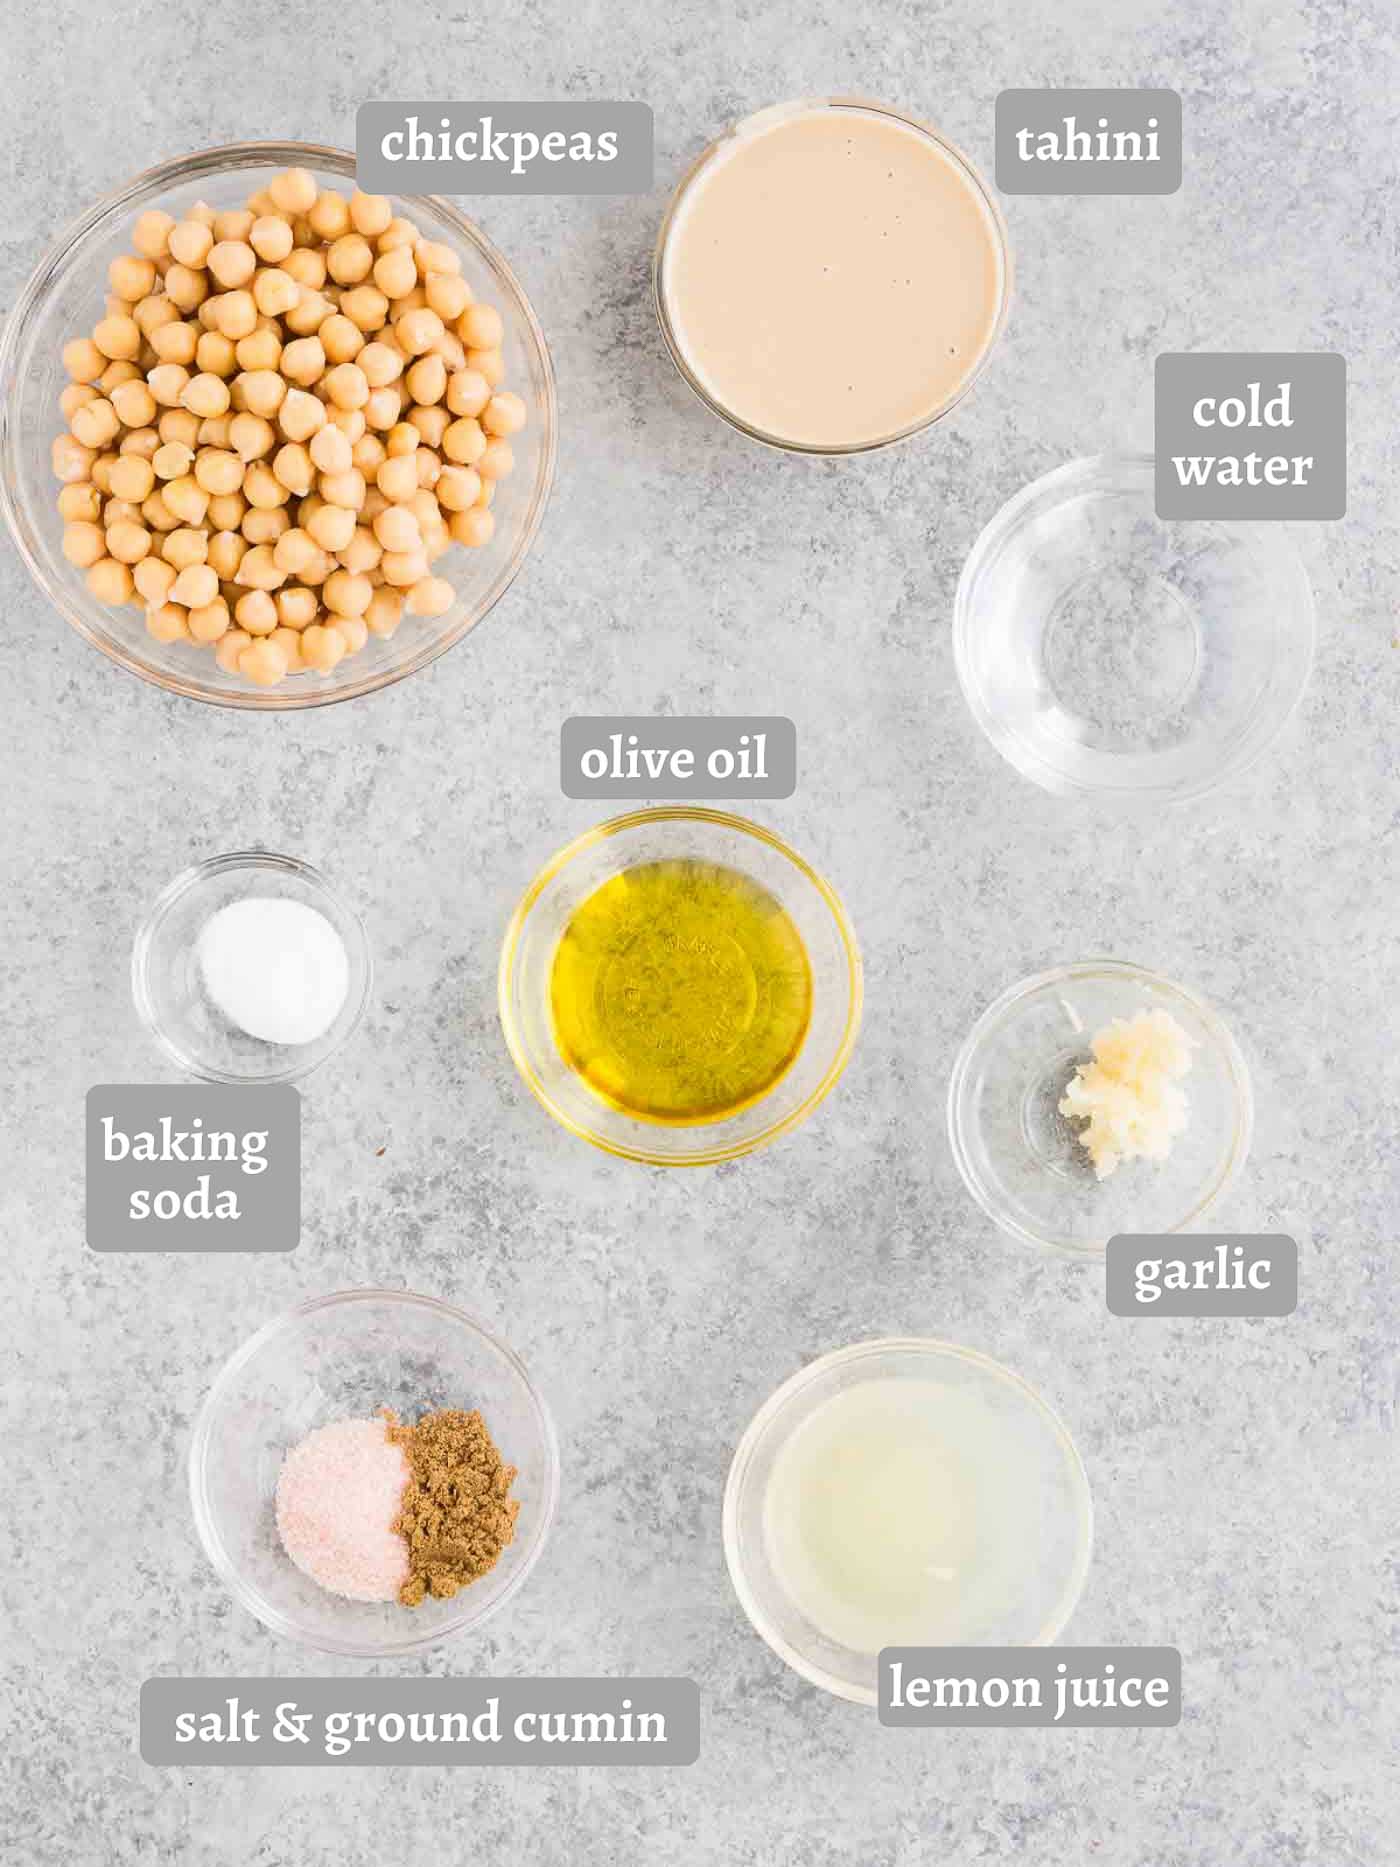
Hummus Ingredients
- Chickpeas/garbanzo beans: Use canned chickpeas for this recipe. Rinse, drain and peel them before using. You could also use dry chickpeas instead but make sure you soak them beforehand or cook them in the Instant Pot.
- Baking soda: We use baking soda when we boil the chickpeas. This helps them to absorb more moisture so your hummus will have a soft and creamy texture.
- Tahini: This sesame seed paste gives hummus its familiar nutty flavor.
- Oil: Use extra-virgin olive oil for a rich-tasting dip. You can use regular or light for a milder flavor.
- Seasonings/spices: Half teaspoon ground cumin, salt and minced garlic cloves.
- Fresh lemon juice: The acid in the lemon juice cuts through the flavors of the tahini and chickpeas and adds a fresh flavor.
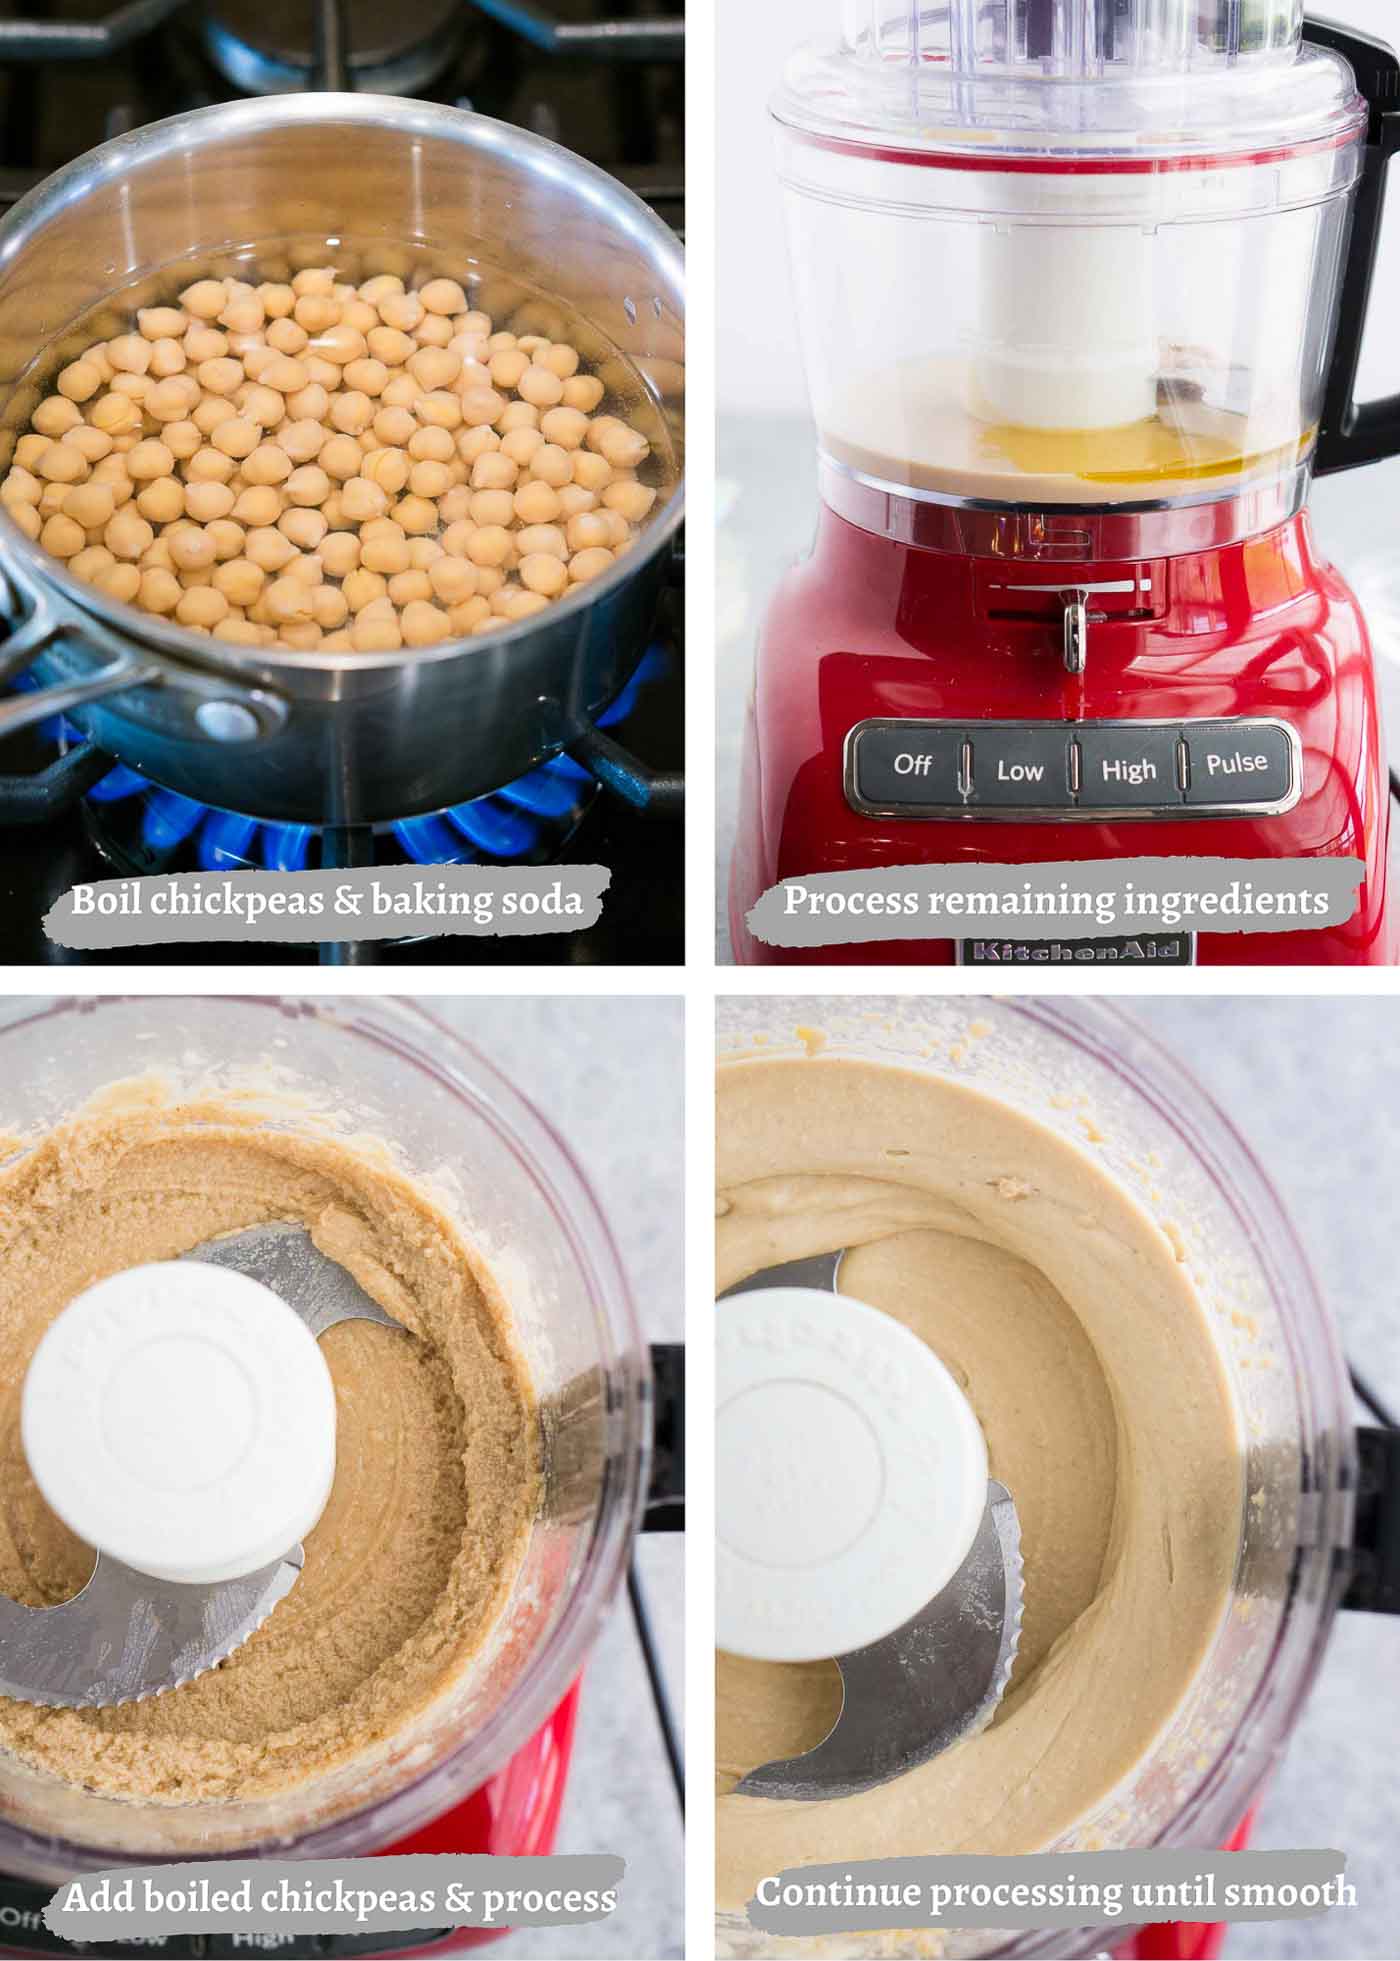
How To Make Hummus
- Boil chickpeas for 20 minutes with enough water to cover them & baking soda. Rinse, drain and peeled.
- Add tahini, cold water, olive oil, cumin, salt, garlic, and lemon juice to a food processor. Puree until smooth.
- Add in the cooked chickpeas to the food processor. Puree for 3-4 minutes, pausing halfway to scrape down the sides of the bowl, until the hummus is smooth. If it seems too thick, add in another tablespoon or two of cold water.
- Taste and season with additional salt, cumin, and/or lemon juice if needed.
TIPS FROM NELI’S KITCHEN
Recipe Notes and Tips for the Best Hummus
- Drain and rinse the chickpeas well. The liquid in canned chickpeas can be quite salty, so give them a good rinse under cold running water before using.
- It’s totally worth peeling your chickpeas before boiling them. This results in extra smooth and creamy hummus.
- Keep covered and refrigerated.
- Hummus can be frozen for short periods of time (up to 1 month). If it separates when you thaw it, you can blend it back together again to serve.
- If you don’t have a food processor you could use a high speed blender to make your own hummus.
How long does it last?
This homemade hummus recipe is ready to serve as soon as you’ve made it, or transfer it to an air-tight container or cover it with plastic wrap and keep it refrigerated. It will keep well for up to 3 days and can be used straight from the fridge.
Do you have to peel the chickpeas?
You don’t have to peel the chickpeas, but I strongly advise that you take the time and do this step. Peeling the chickpeas once you’ve drained and rinsed them to remove the tougher skins results in a much smoother and creamier dip. It’s the best way to get that restaurant-style hummus.
How do you serve it?
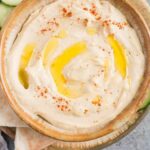
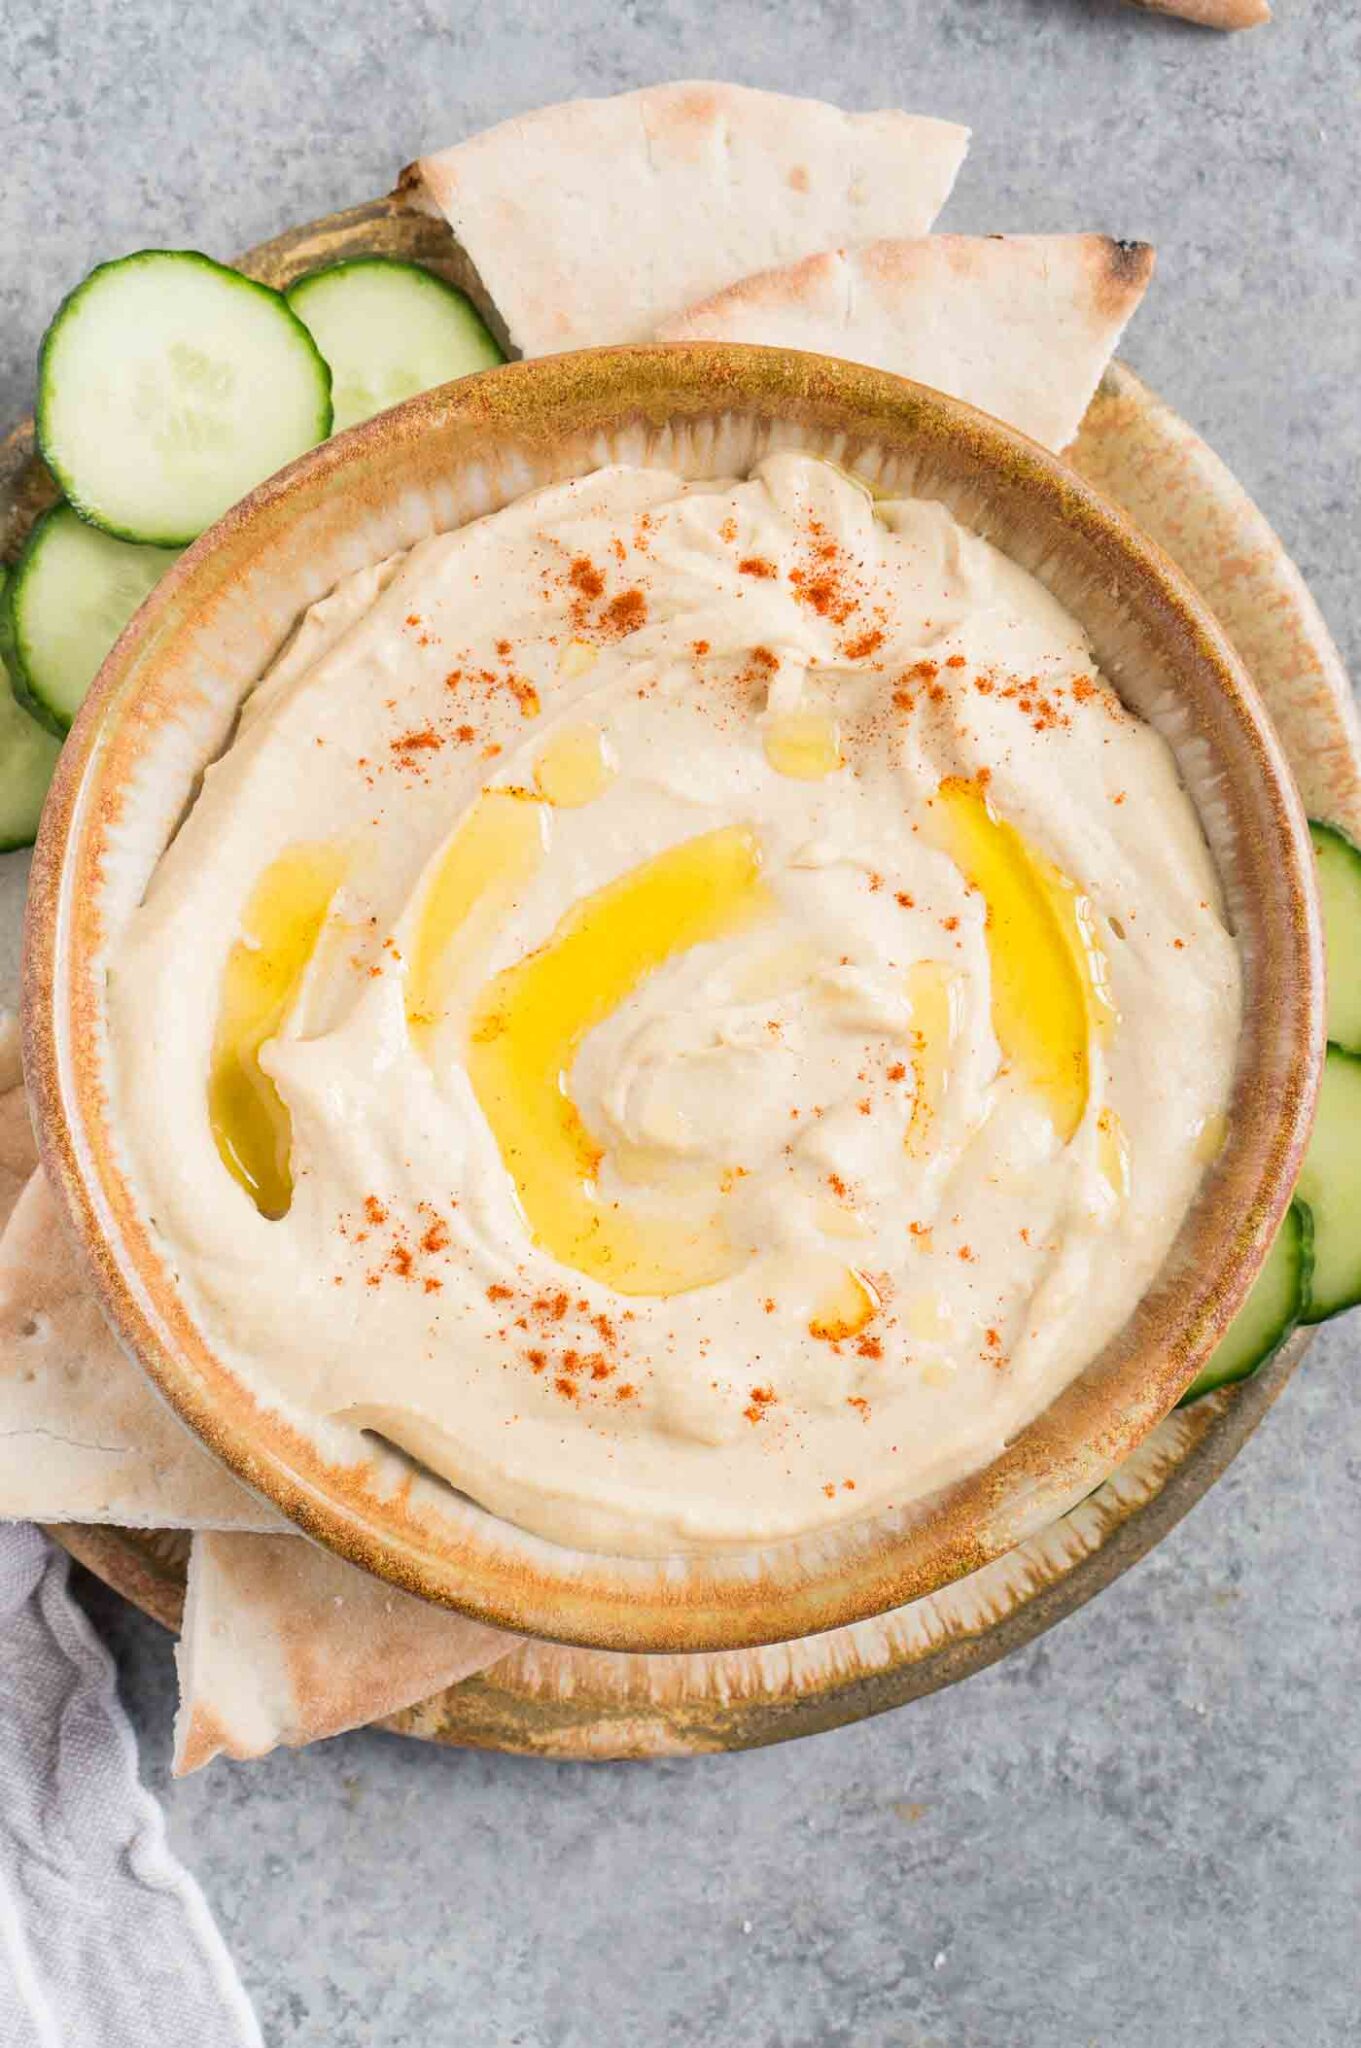
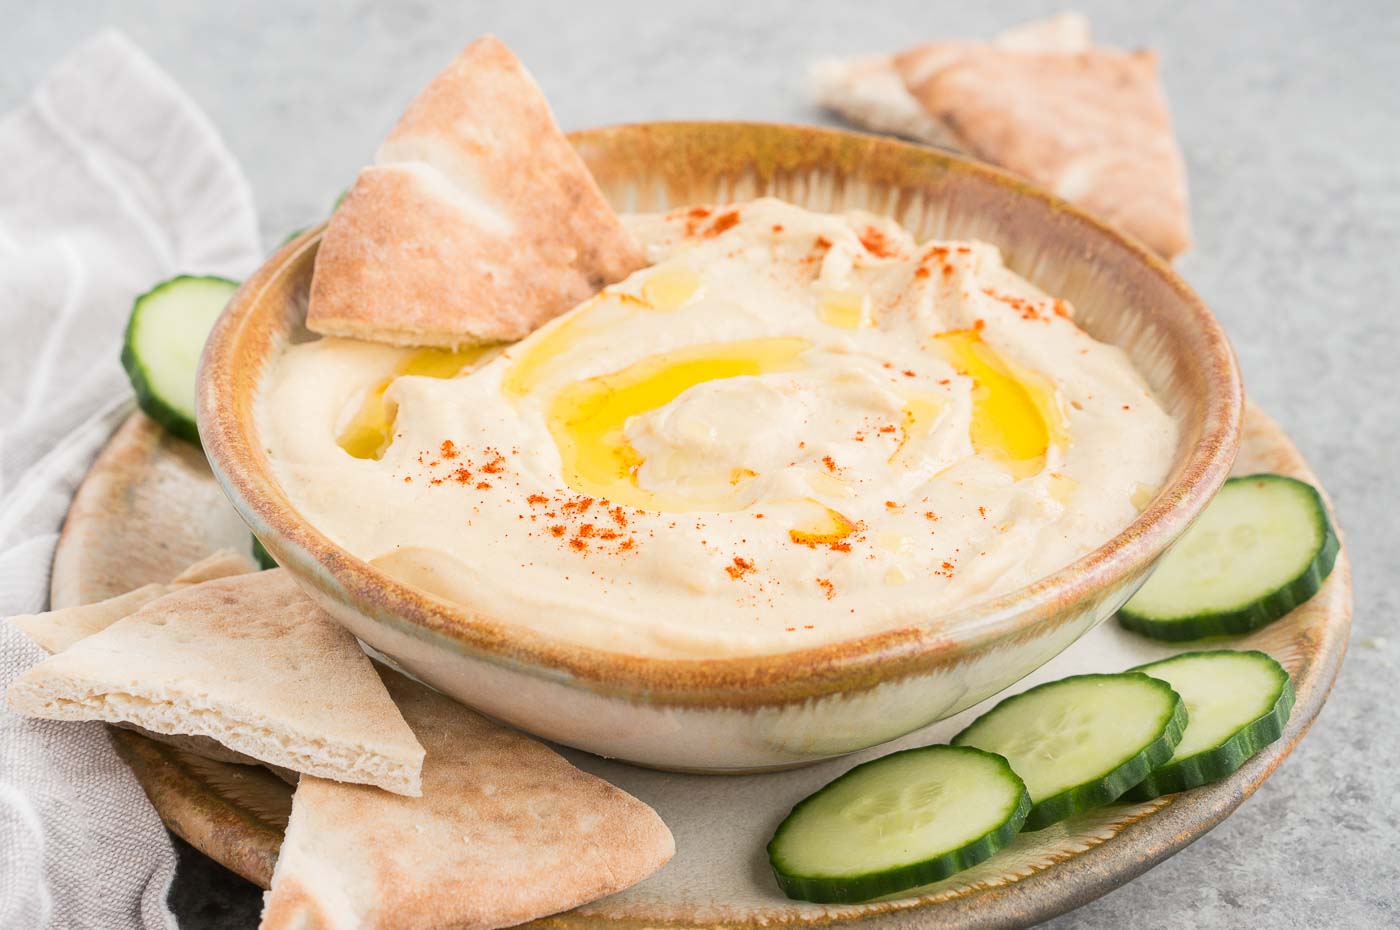
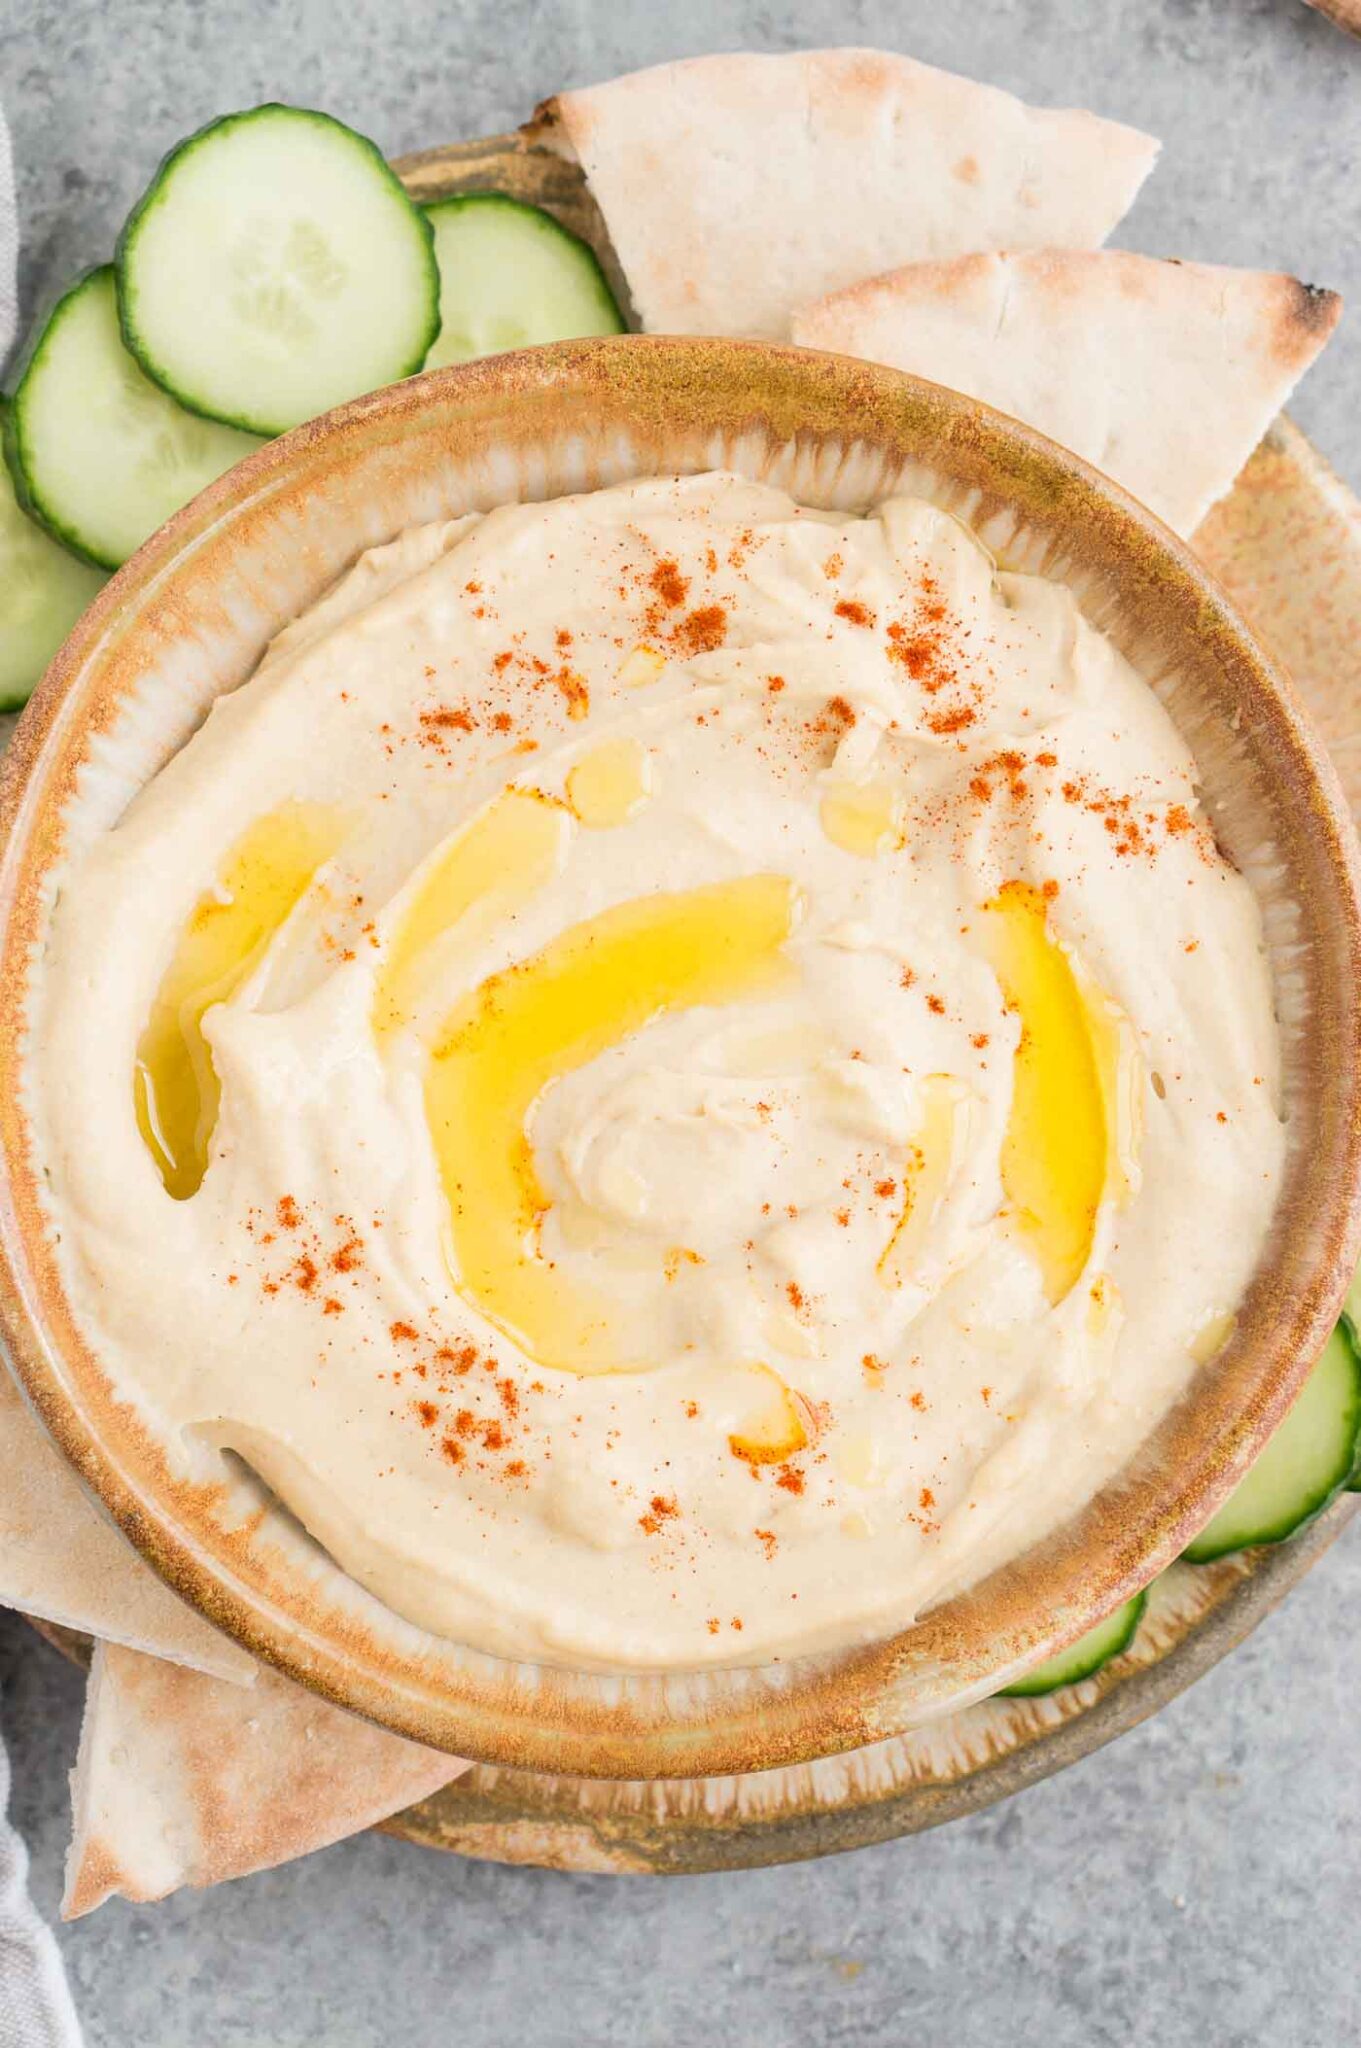
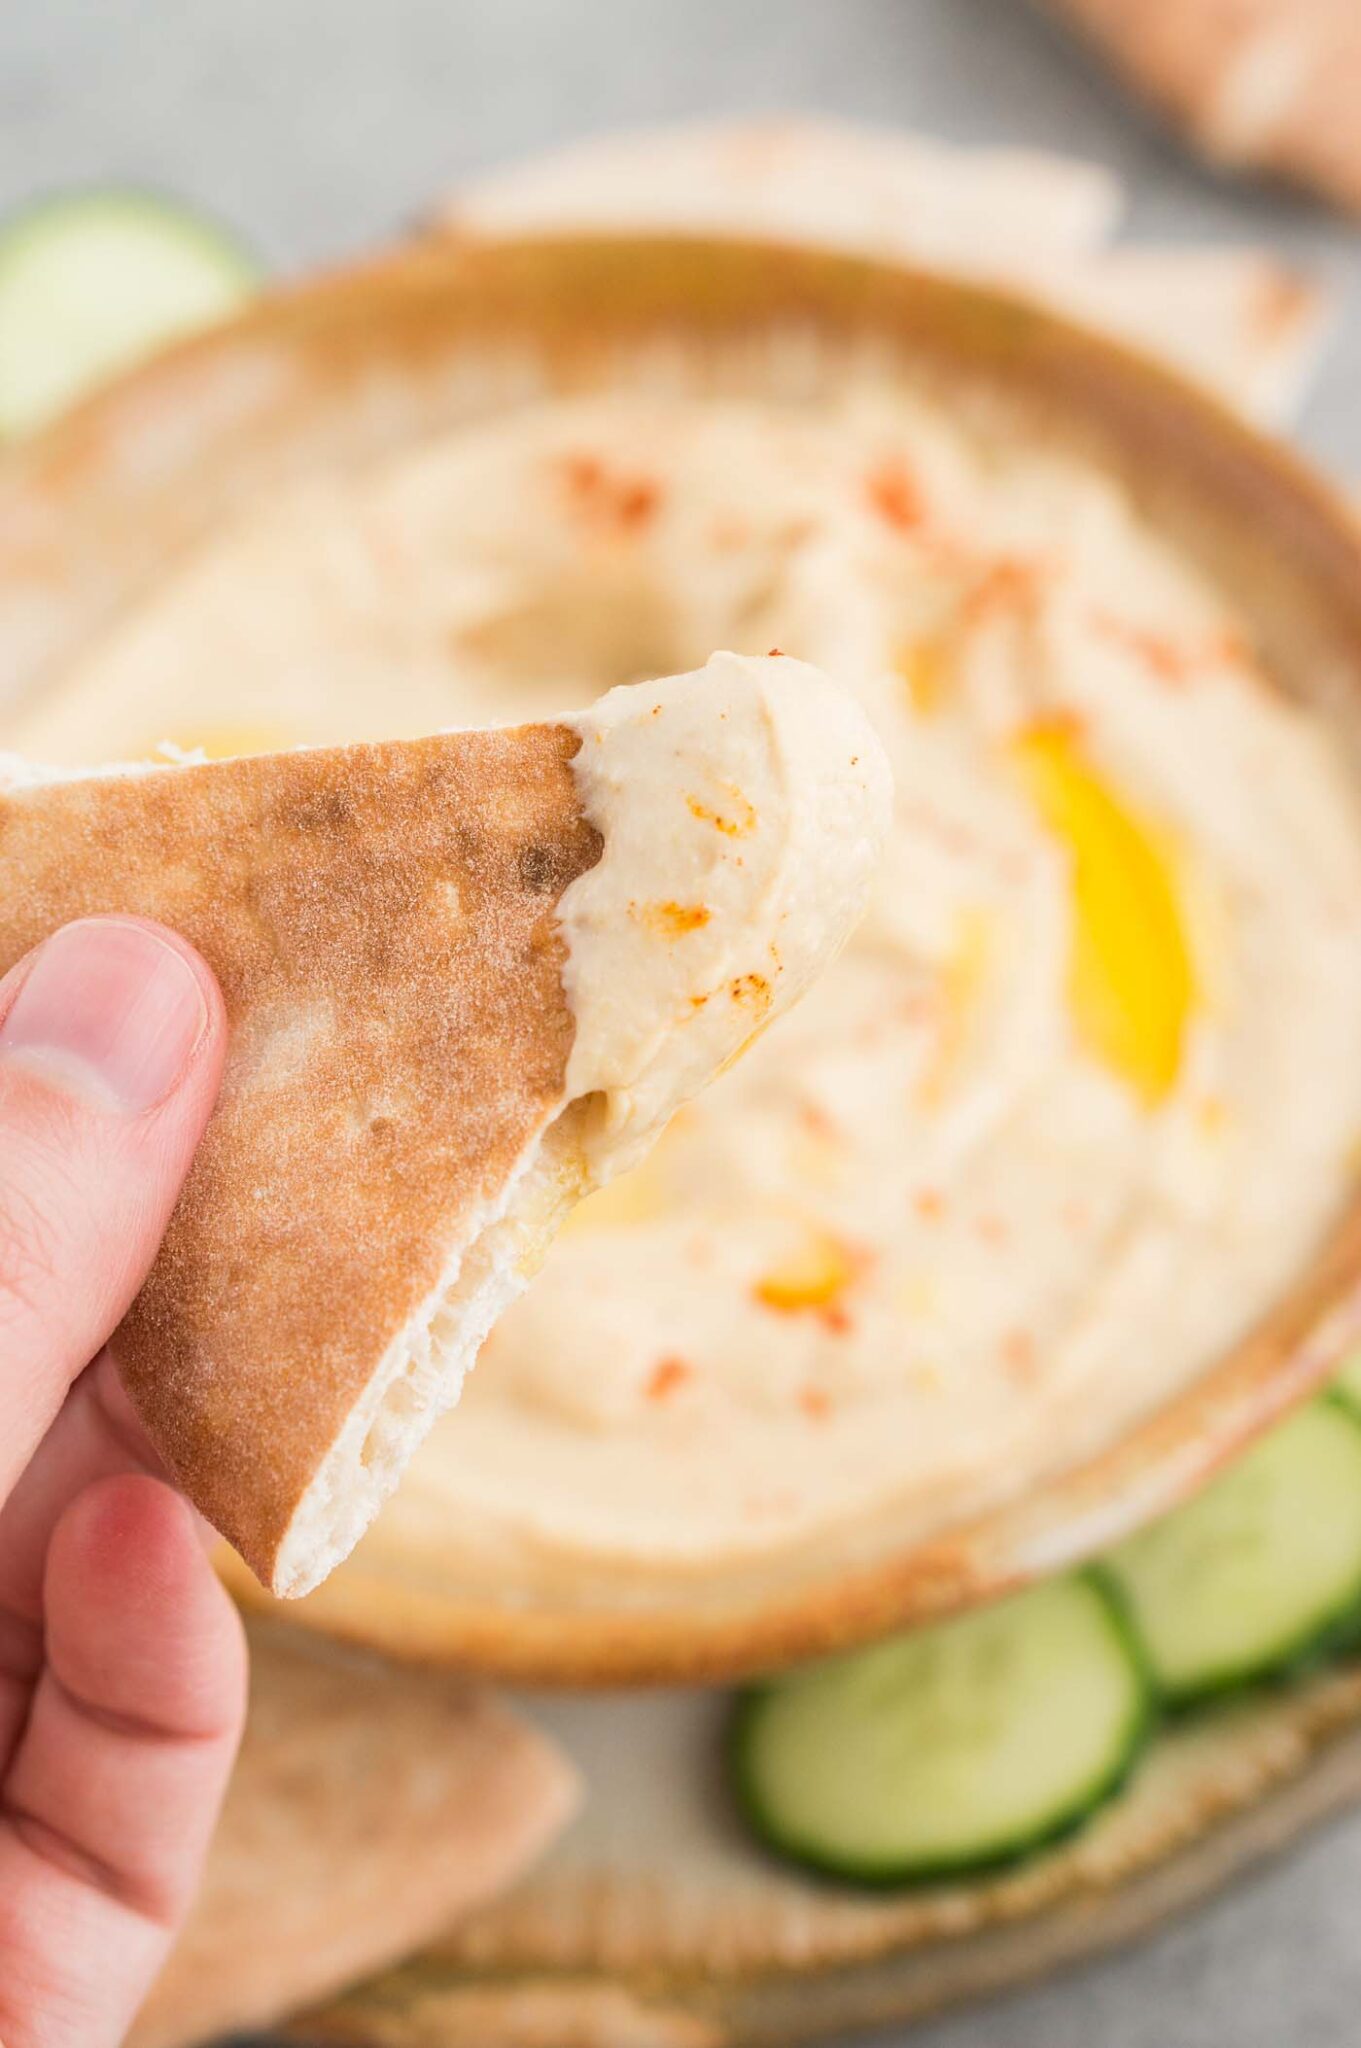
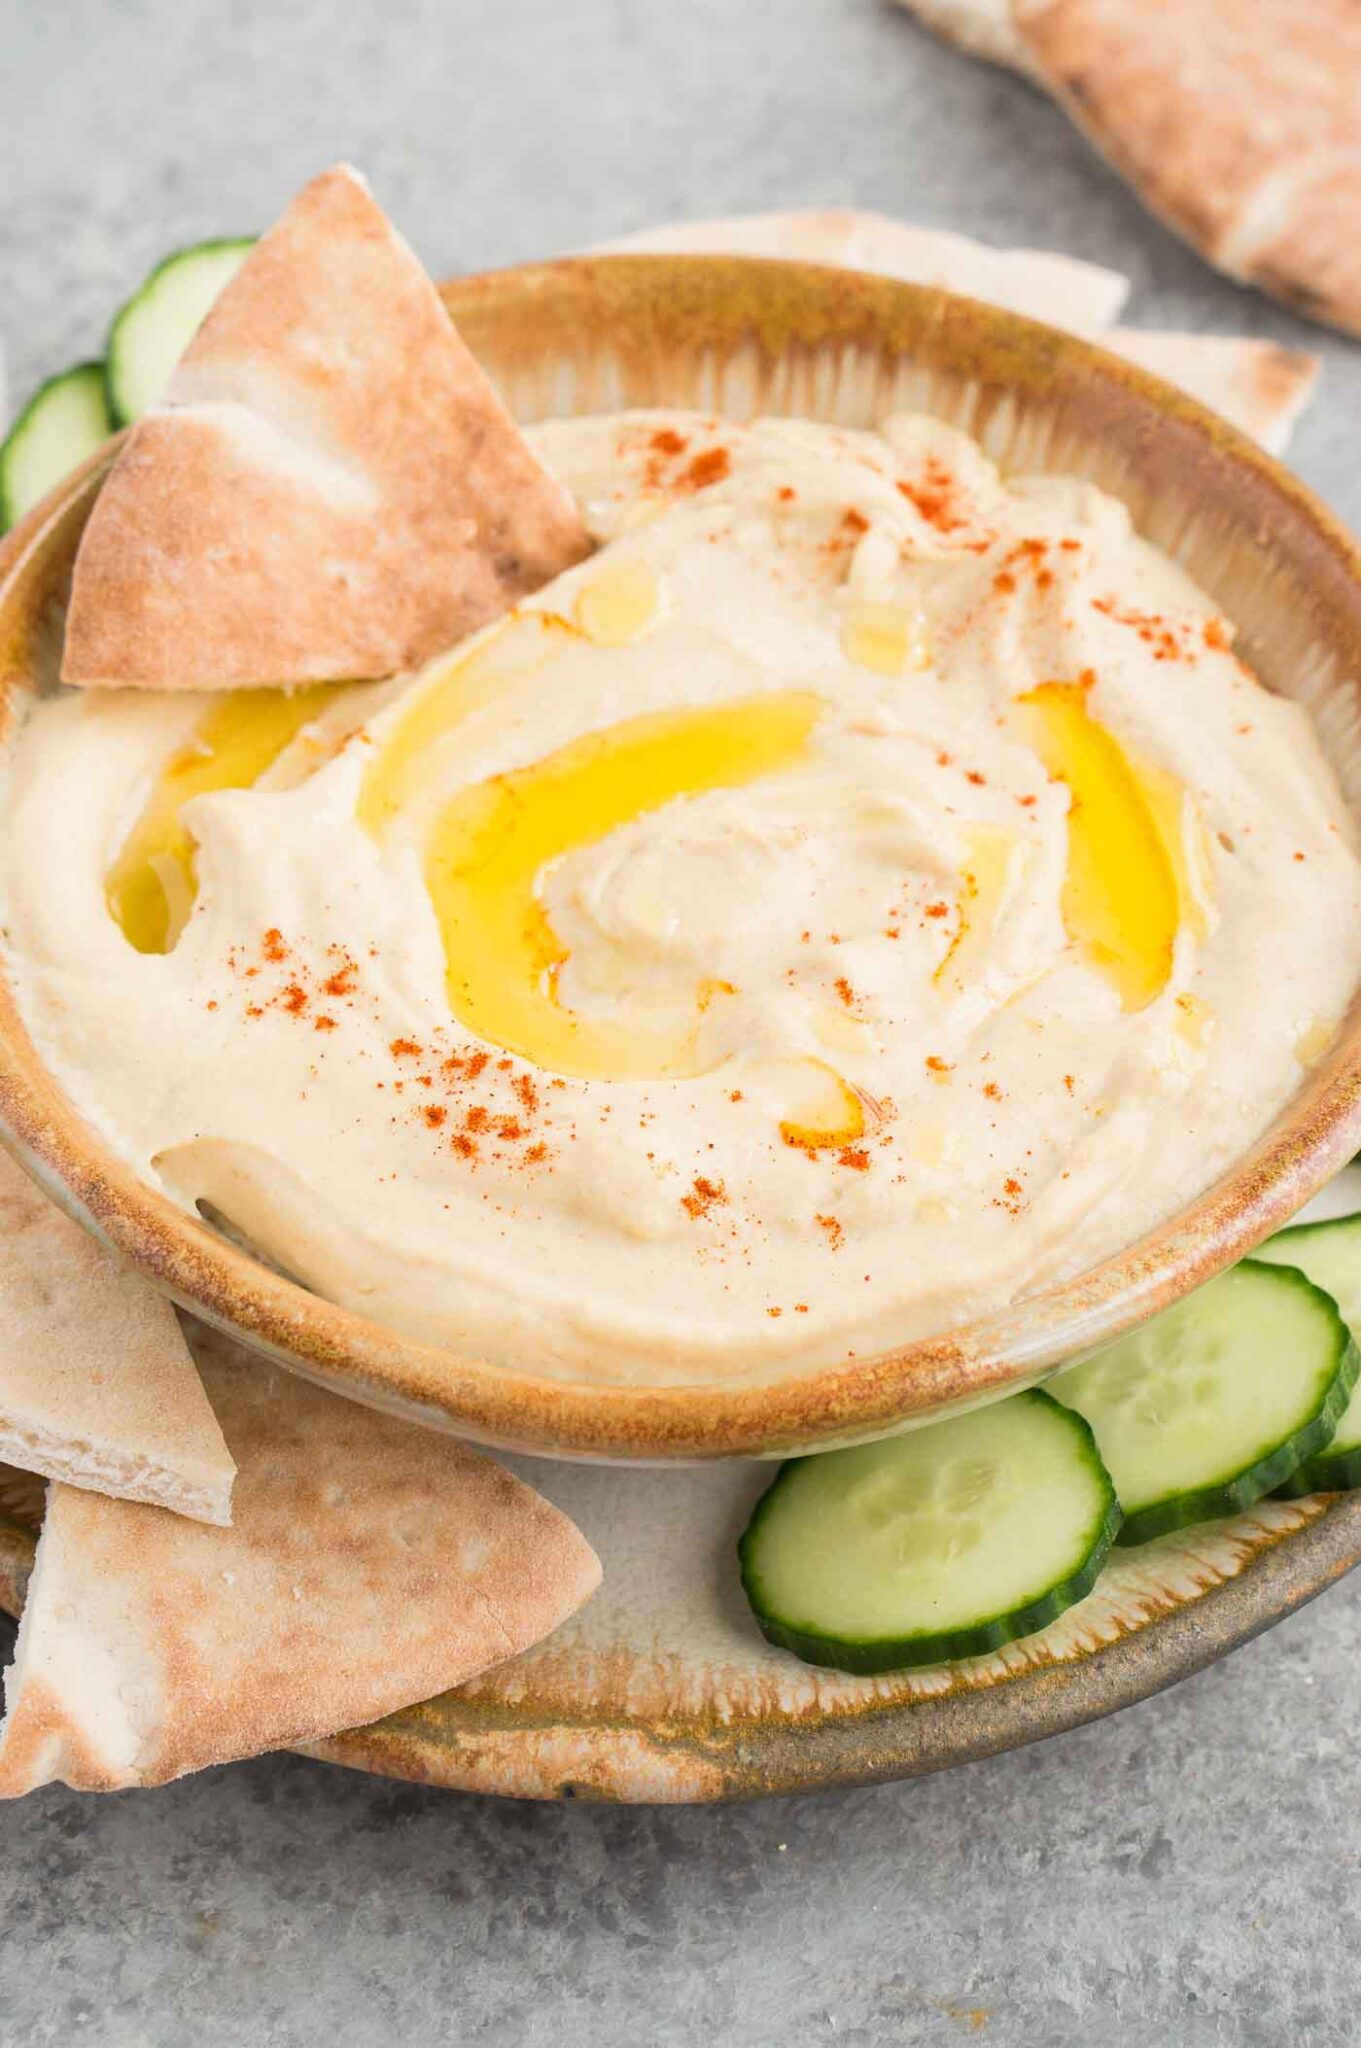
Once you have made your hummus, you can serve it as its, or add an extra drizzle of olive oil, chopped fresh parsley, a sprinkle of paprika, or some toasted pine nuts for garnish. Serve it on a platter alongside some pita bread, crackers, cucumber slices, carrots, celery, or other veggie sticks for a sharing appetizer, or use it as a spread in sandwiches, wraps, or salads.
Hummus Variations
- Beet Hummus
- Avocado Hummus
- Red Pepper Hummus
More Appetizers
If you enjoyed this Easy Hummus recipe or any other recipe on my blog, please leave a ⭐ star rating and let me know how it went in the 📝 comments below. Thanks for visiting!
Pin this now to find it later
Pin It
☝ Tap stars to rate
How to Make Hummus
Save This Recipe
Enter your email and we’ll send the recipe directly to you!
By submitting this form, you consent to receive emails from Delicious Meets Healthy.
Ingredients
- 1 15 ounce can chickpeas, peeled, rinsed, and drained
- ½ tsp baking soda
- ½ cup good-quality tahini
- 2 –4 tablespoons cold water, or more if needed
- 2 tablespoons extra virgin olive oil
- ½ teaspoon ground cumin
- ¾ teaspoon fine sea salt
- 2 medium cloves garlic, peeled and smashed
- juice of 1 lemon, 2–3 tablespoons
- optional toppings: extra drizzle of olive oil, chopped fresh parsley, sprinkle of paprika, toasted pine nuts
Instructions
- Boil chickpeas for 20 minutes with enough water to cover them & baking soda. Rinse and drain.
- Add tahini, cold water, olive oil, cumin, salt, garlic, and lemon juice to a food processor. Puree until smooth.
- Add in the cooked chickpeas to the food processor. Puree for 3-4 minutes, pausing halfway to scrape down the sides of the bowl, until the hummus is smooth. If it seems too thick, add in another tablespoon or two of cold water.
- Taste and season with additional salt, cumin, and/or lemon juice if needed.
- Serve immediately, garnished with your desired toppings. Or transfer to a sealed container and refrigerate for up to 3 days.
Video
Notes
- Drain and rinse the chickpeas well. The liquid in canned chickpeas can be quite salty, so give them a good rinse under cold running water before using.
- It’s totally worth peeling your chickpeas before boiling them. This results in extra smooth and creamy hummus.
- Keep covered and refrigerated.
- Hummus can be frozen for short periods of time (up to 1 month). If it separates when you thaw it, you can blend it back together again to serve.
- If you don’t have a food processor you could use a high-speed blender to make your own hummus.
Nutrition
Nutrition Disclaimer: Nutritional values are estimates and may vary with ingredients, brands, and portion sizes. For accuracy, use your preferred nutrition calculator.
Disclaimer: The information provided in this recipe is for informational purposes only and should not be considered medical or nutritional advice. I am not a doctor or a dietitian. Always consult a qualified healthcare provider for personalized guidance regarding your diet or health. For more details, please read my full disclosure page.