
This post may contain affiliate links. Read my disclosure page here.


Make your own batch of Instant Pot Yogurt at home with this easy recipe. Perfectly rich and creamy, this homemade yogurt is so much better than store-bought, just let your pressure cooker do all of the hard work.

Save This Recipe
Enter your email and we’ll send the recipe directly to you!
By submitting this form, you consent to receive emails from Delicious Meets Healthy.
Yogurt is a great addition to any well-balanced diet. It is made with live cultures and has a deliciously creamy texture, making it a great choice for breakfast or dessert.
I never buy yogurt from the store now I know how to make it at home because it’s so creamy, tastes great and it’s less tangy, which my family definitely prefers.
You only need two ingredients to make up a big batch of this homemade yogurt in the Instant Pot, and you never have to buy it from the store ever again!
Be sure to try my Frozen Yogurt Bark with Strawberries.
Why You Will Love This Instant Pot Yogurt Recipe
- Easy: This method does take a bit of time to make, but the majority of the time is totally hands off and the whole recipe is pretty straight forward. Once you’ve done it once, you’ll definitely be making it again!
- Budget-friendly: Making your own yogurt in the Instant Pot will save you quite a lot of dollars!
- Make ahead: This homemade yogurt has a pretty good shelf life. Make it once and enjoy it for a couple of weeks.

Ingredients
- Half gallon of milk: For the best and creamiest results use whole milk for this Instant Pot yogurt recipe. You have to use dairy milk, you can’t use coconut milk, almond milk, soy milk or skim milk.
- Yogurt: Use plain Greek yogurt with active bacterial cultures, or use a yogurt starter. You need about 2 tablespoons of yogurt. You can’t use yogurt substitute or sour cream.
How To Make Yogurt In The Instant Pot – Step by Step Instructions
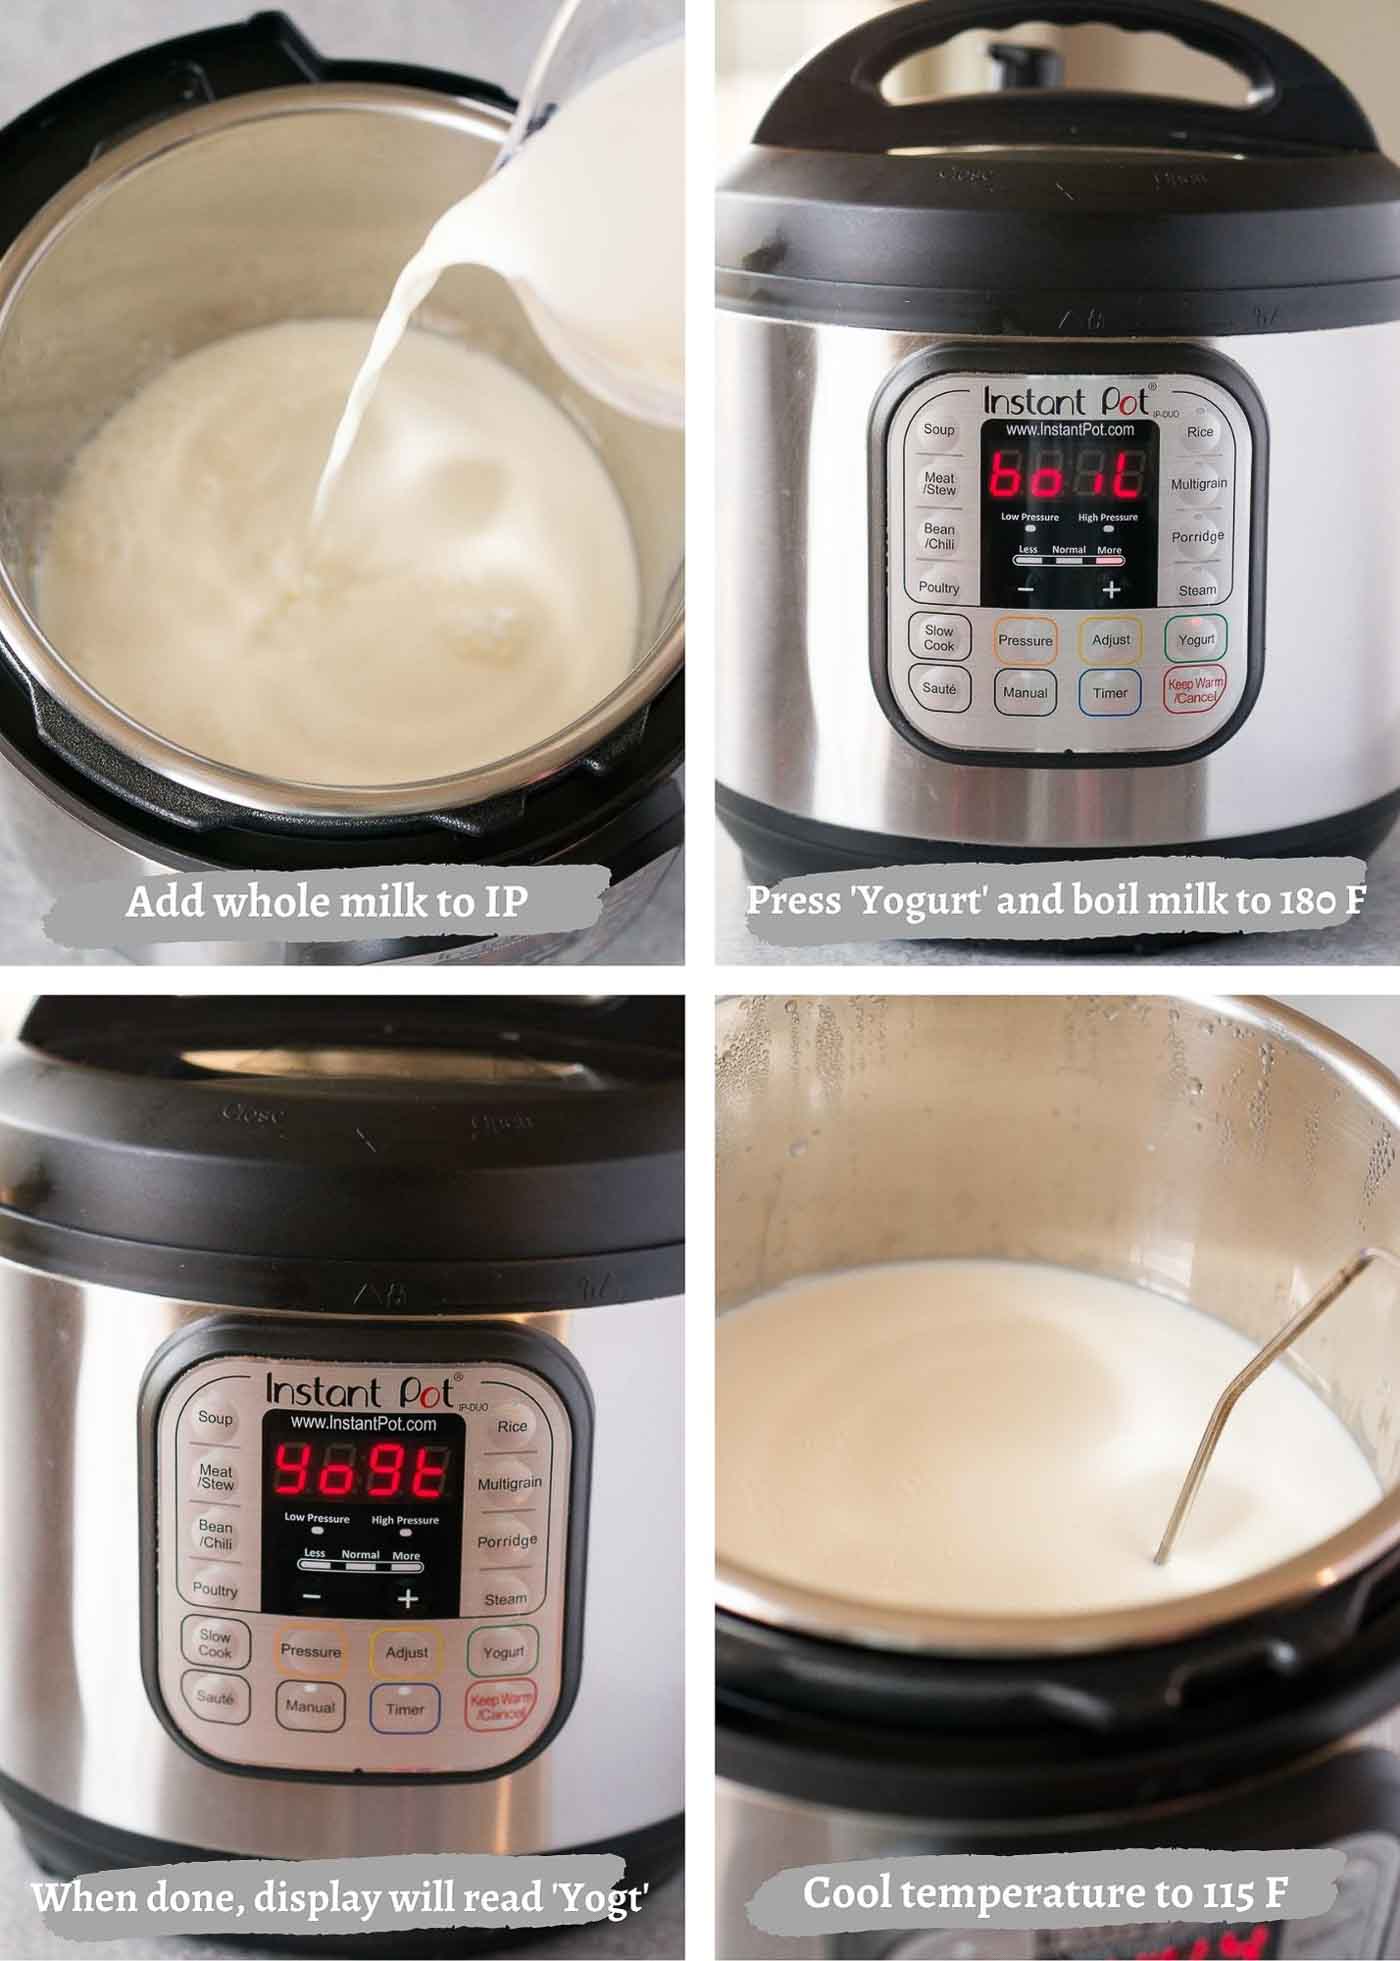
- Heat milk to 180 F – 200 F. Pour the milk into the Instant Pot’s insert and close the lid. (you don’t need to turn the valve to ‘Sealing’, keep it on ‘Vent’) Press the Yogurt button and then press “Adjust” until the display says “BOIL”. It will take about 30 minutes to bring the milk to 180 F. (this will kill all undesirable microorganisms) When the boil cycle is over, the Instant Pot will beep and the display will say “YOGT”.
- Note: If you want a little bit thicker yogurt, you can keep the lid closed for another 5 minutes.
- Remove the lid, and check that the temperature is between 180 – 200 F.
- Cool milk to 112 F – 115 F. Lift out the Instant Pot insert with the hot milk and place aside. Put a food thermometer in the milk and wait until it reaches 112 – 115 F. This can take about an hour.
- Alternatively, you can place the insert with the hot milk in a bath of ice water, and don’t forget to stir the milk as the bottom will cool quicker than the milk on top. Be careful to watch the thermometer closely because the temperature will drop in about 5 minutes. And again, make sure you stir the milk.
- Note: If the temperature drops below 110 F, you will have to warm up the milk again in the Instant Pot. Press “Yogurt”, then “Adjust” and monitor until the temperature is in the right range.
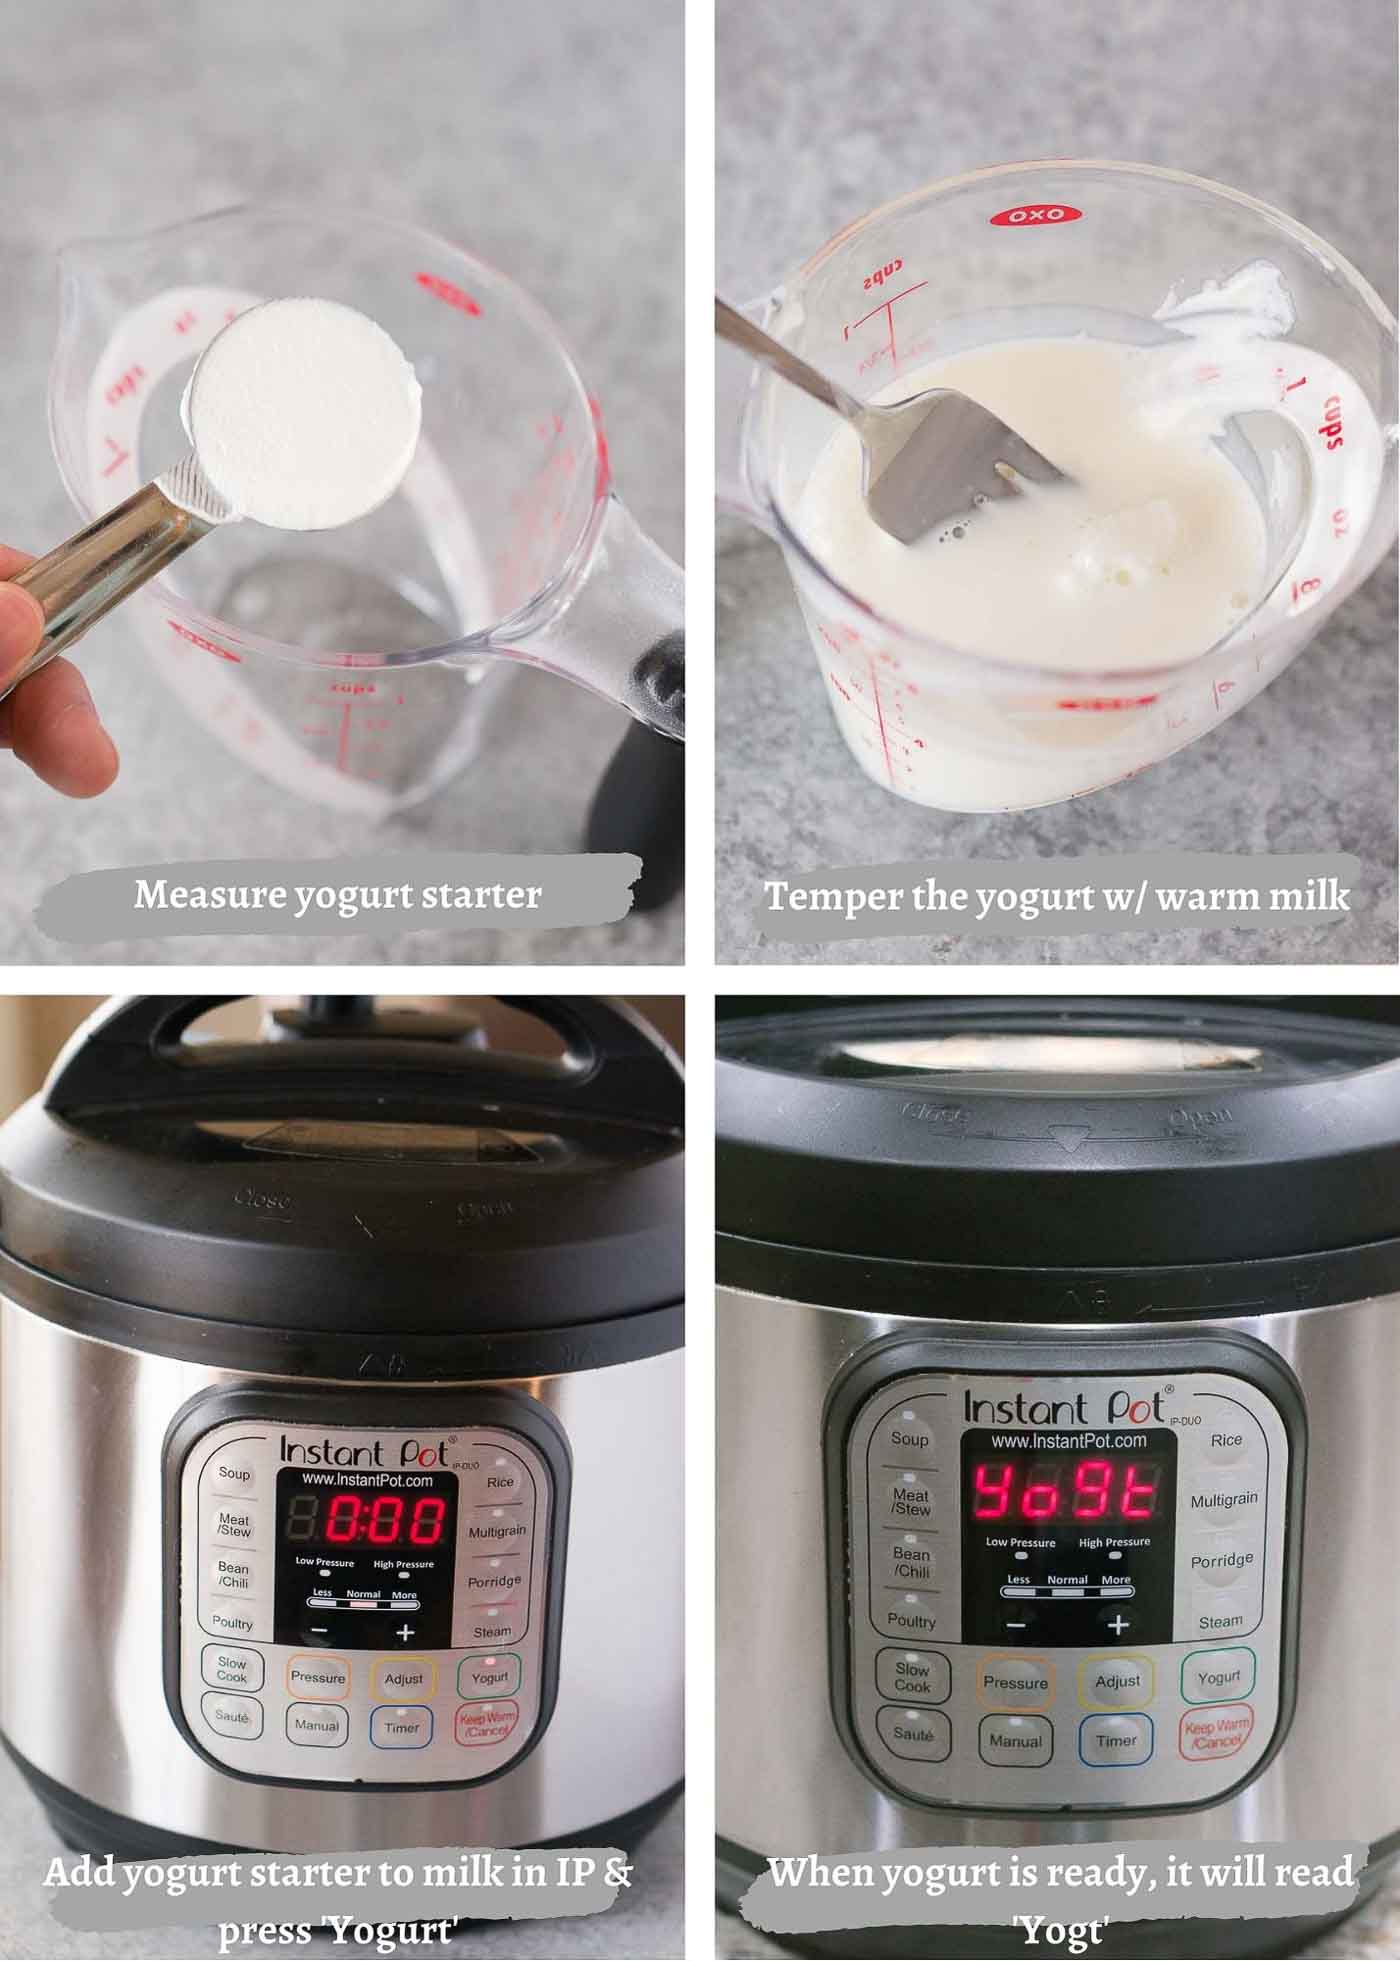
- Temper the yogurt starter. Place the yogurt starter in a medium bowl, add about ½ cup of the warm milk. Whisk until smooth, then pour into the insert with warm milk and whisk until well combined.
- Incubate the yogurt. Set the inner pot with yogurt milk mixture back in the Instant Pot and close the lid. Press the “Yogurt” button and adjust the time to 8:00 hours. Once the incubation time is over, the display will read “Yogt”.
- Don’t move the Instant Pot too much, don’t open the lid to check the yogurt until at least 6 hours have passed.
- Note: You can increase the time up to 12 hours if you like your yogurt tangier. (longer incubation time = tangier yogurt)
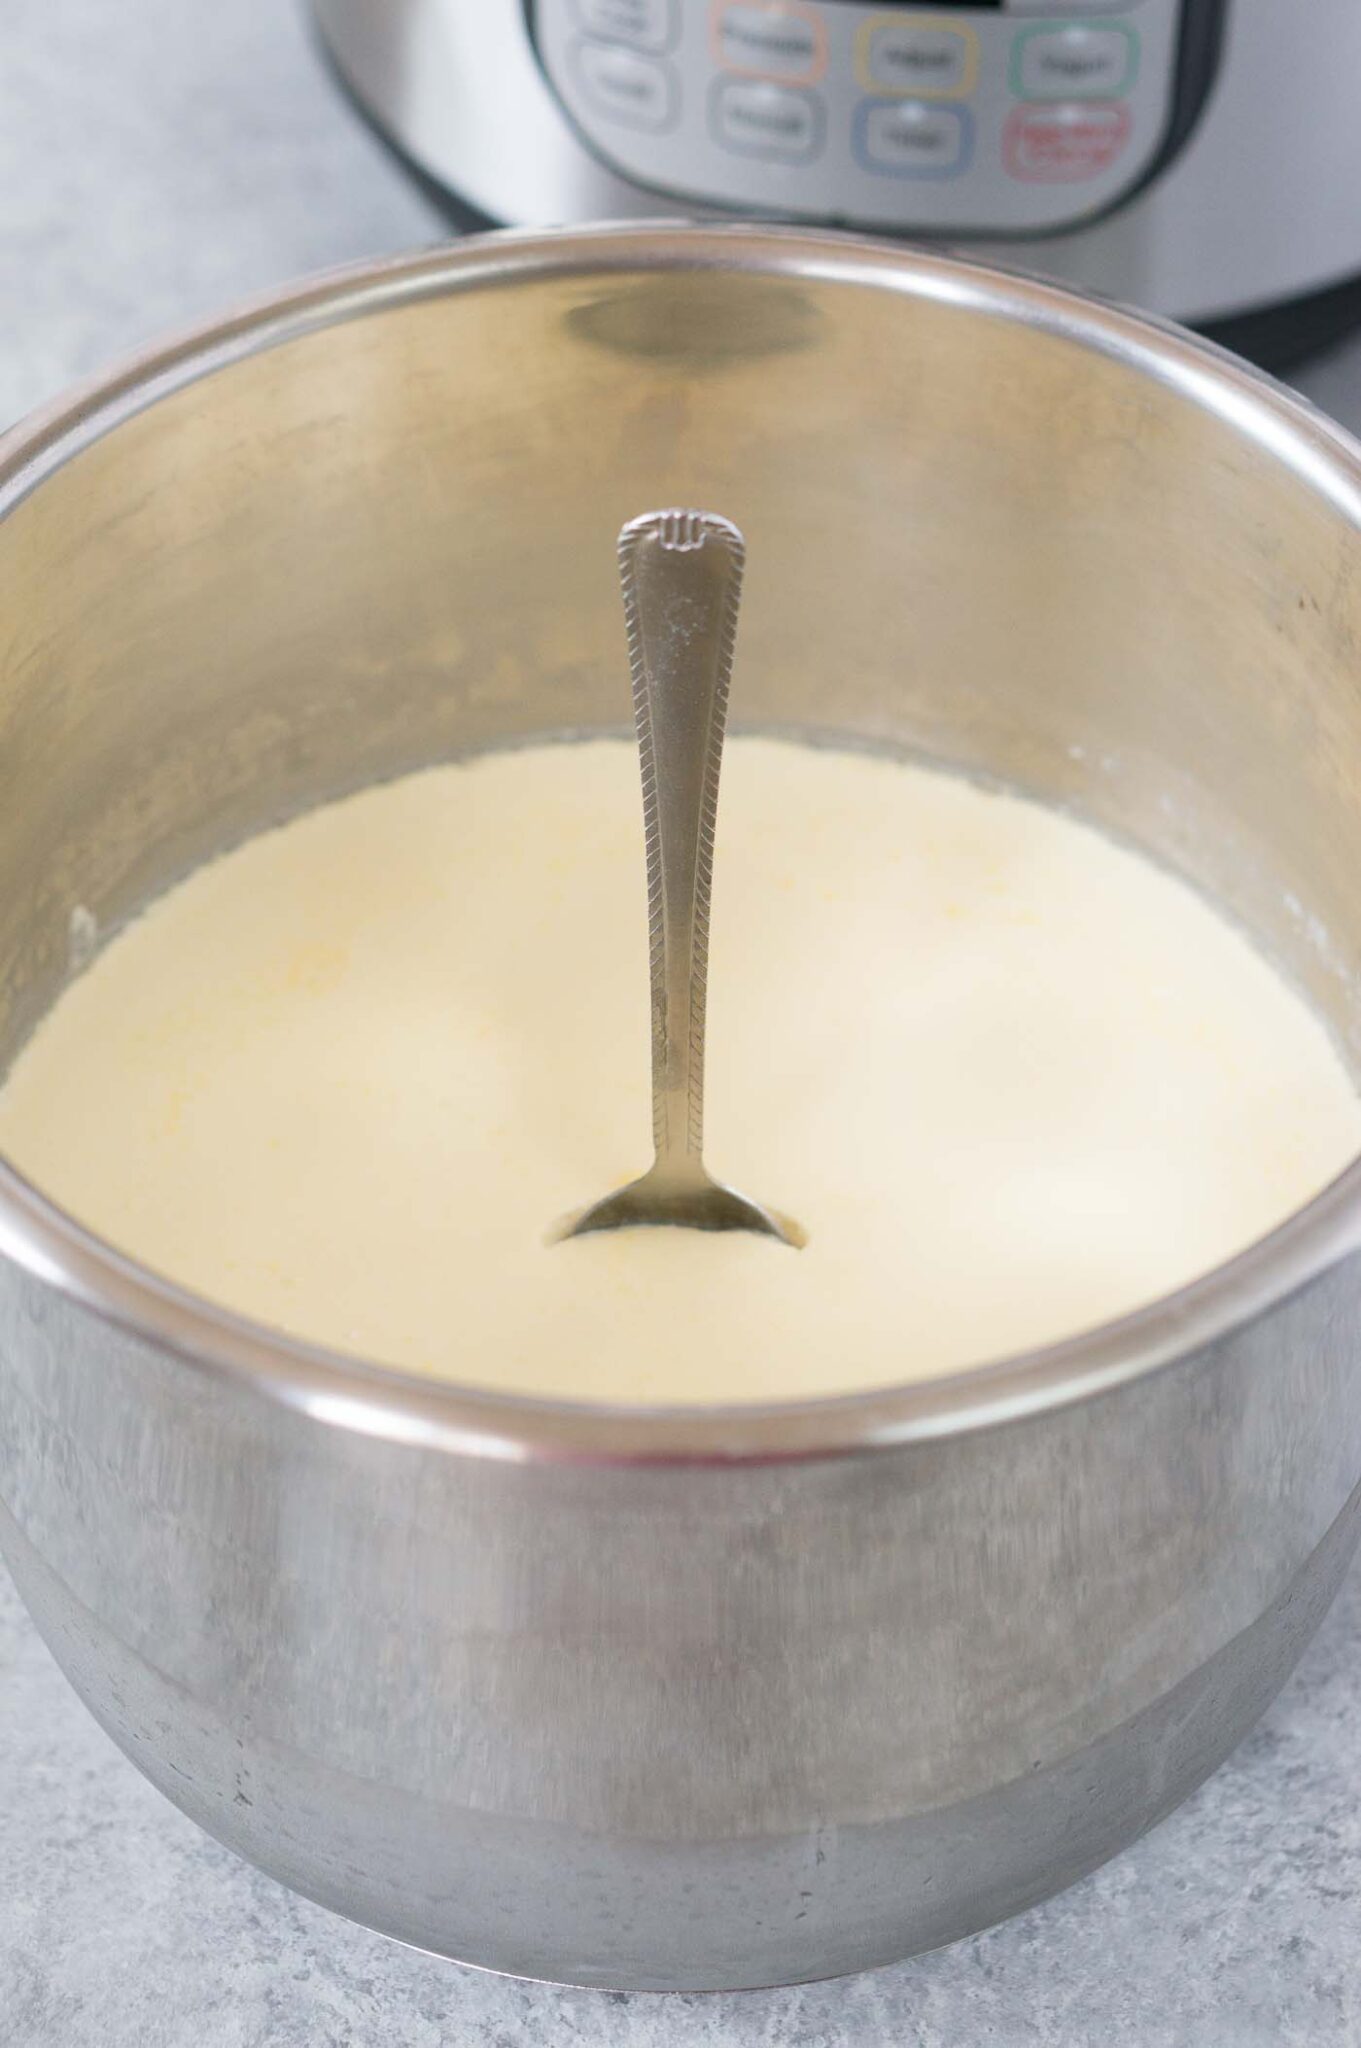
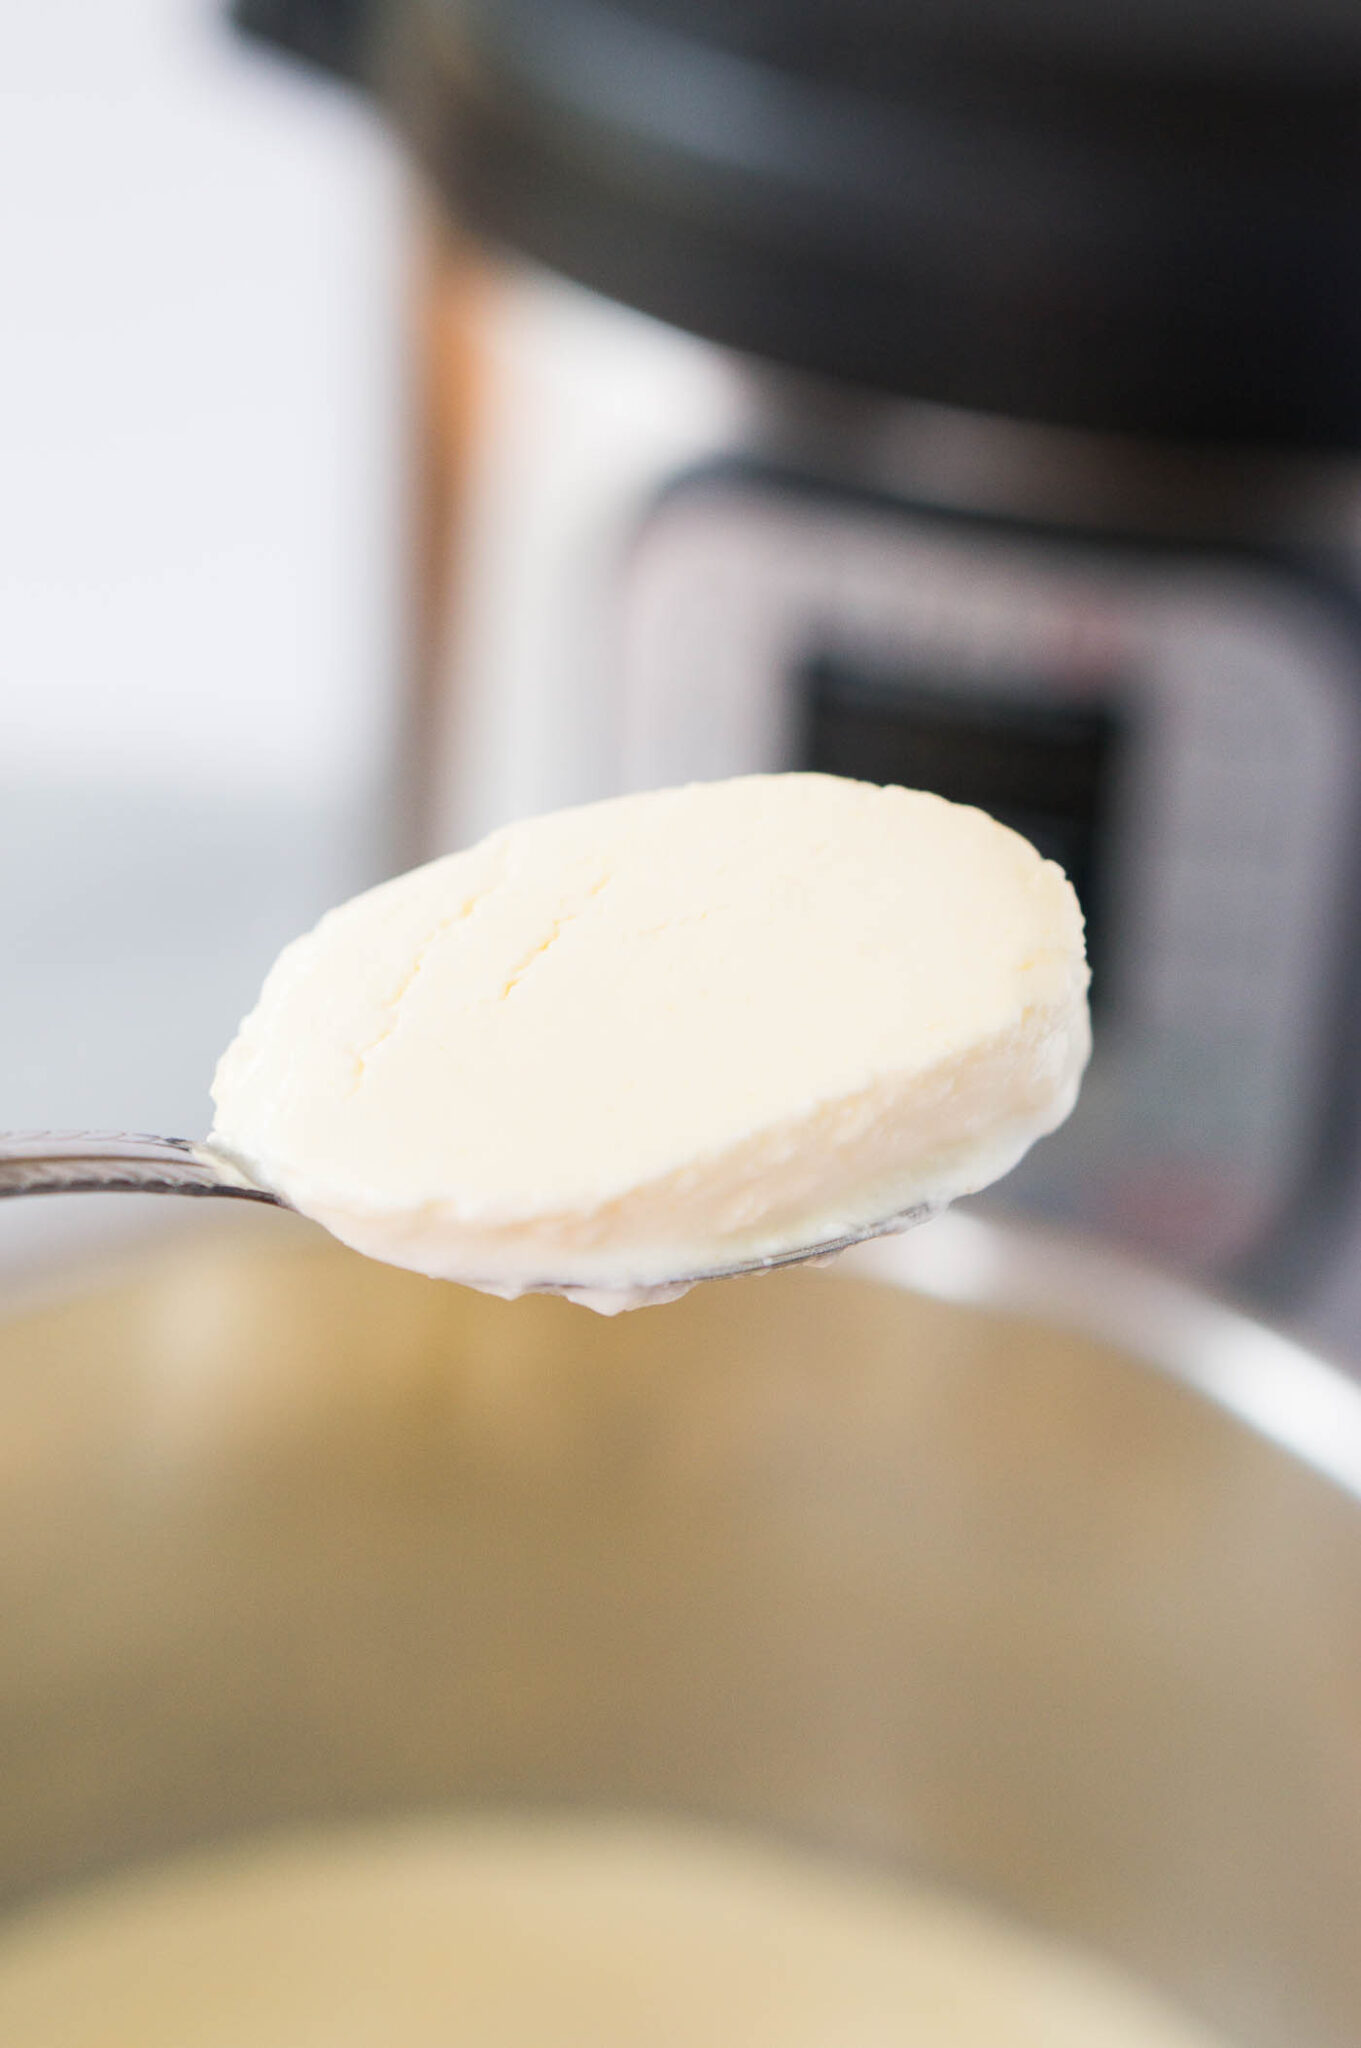
- Check the yogurt. Open the lid carefully and check if the yogurt is set. (It is set if it doesn’t run if you tip the pot a little bit)
- Chill the yogurt at room temperature. Remove the insert with the yogurt and place it on a cooling rack on the counter to cool for a couple of hours.
- Note: Placing it immediately in the refrigerator can thin your yogurt because of the drastic temperature change.
- Chill the yogurt in the fridge. You can now place it in the refrigerator and chill it for at least 6 hours.
- Store it in the refrigerator. Once the yogurt is chilled, you can transfer it to smaller jars and keep it in the fridge.
TIPS FROM NELI’S KITCHEN
Recipe Notes and Tips for the Best Instant Pot Yogurt
- You can cut this Instant Pot Greek yogurt recipe in half if you would like. If you have an 8-quart pressure cooker, you can also double this recipe for homemade yogurt.
- If you want thicker yogurt, you can strain it through a cheesecloth and a strainer overnight.
- Let the yogurt cool at room temperature before refrigerating it. Placing it immediately in the refrigerator can thin your yogurt because of the drastic temperature change.
- Cold Start Yogurt (also called No Boil or Cold Start method) requires ultra-pasteurized milk and you don’t have to boil the milk first. Some people share that it works as well but I haven’t tried it myself.
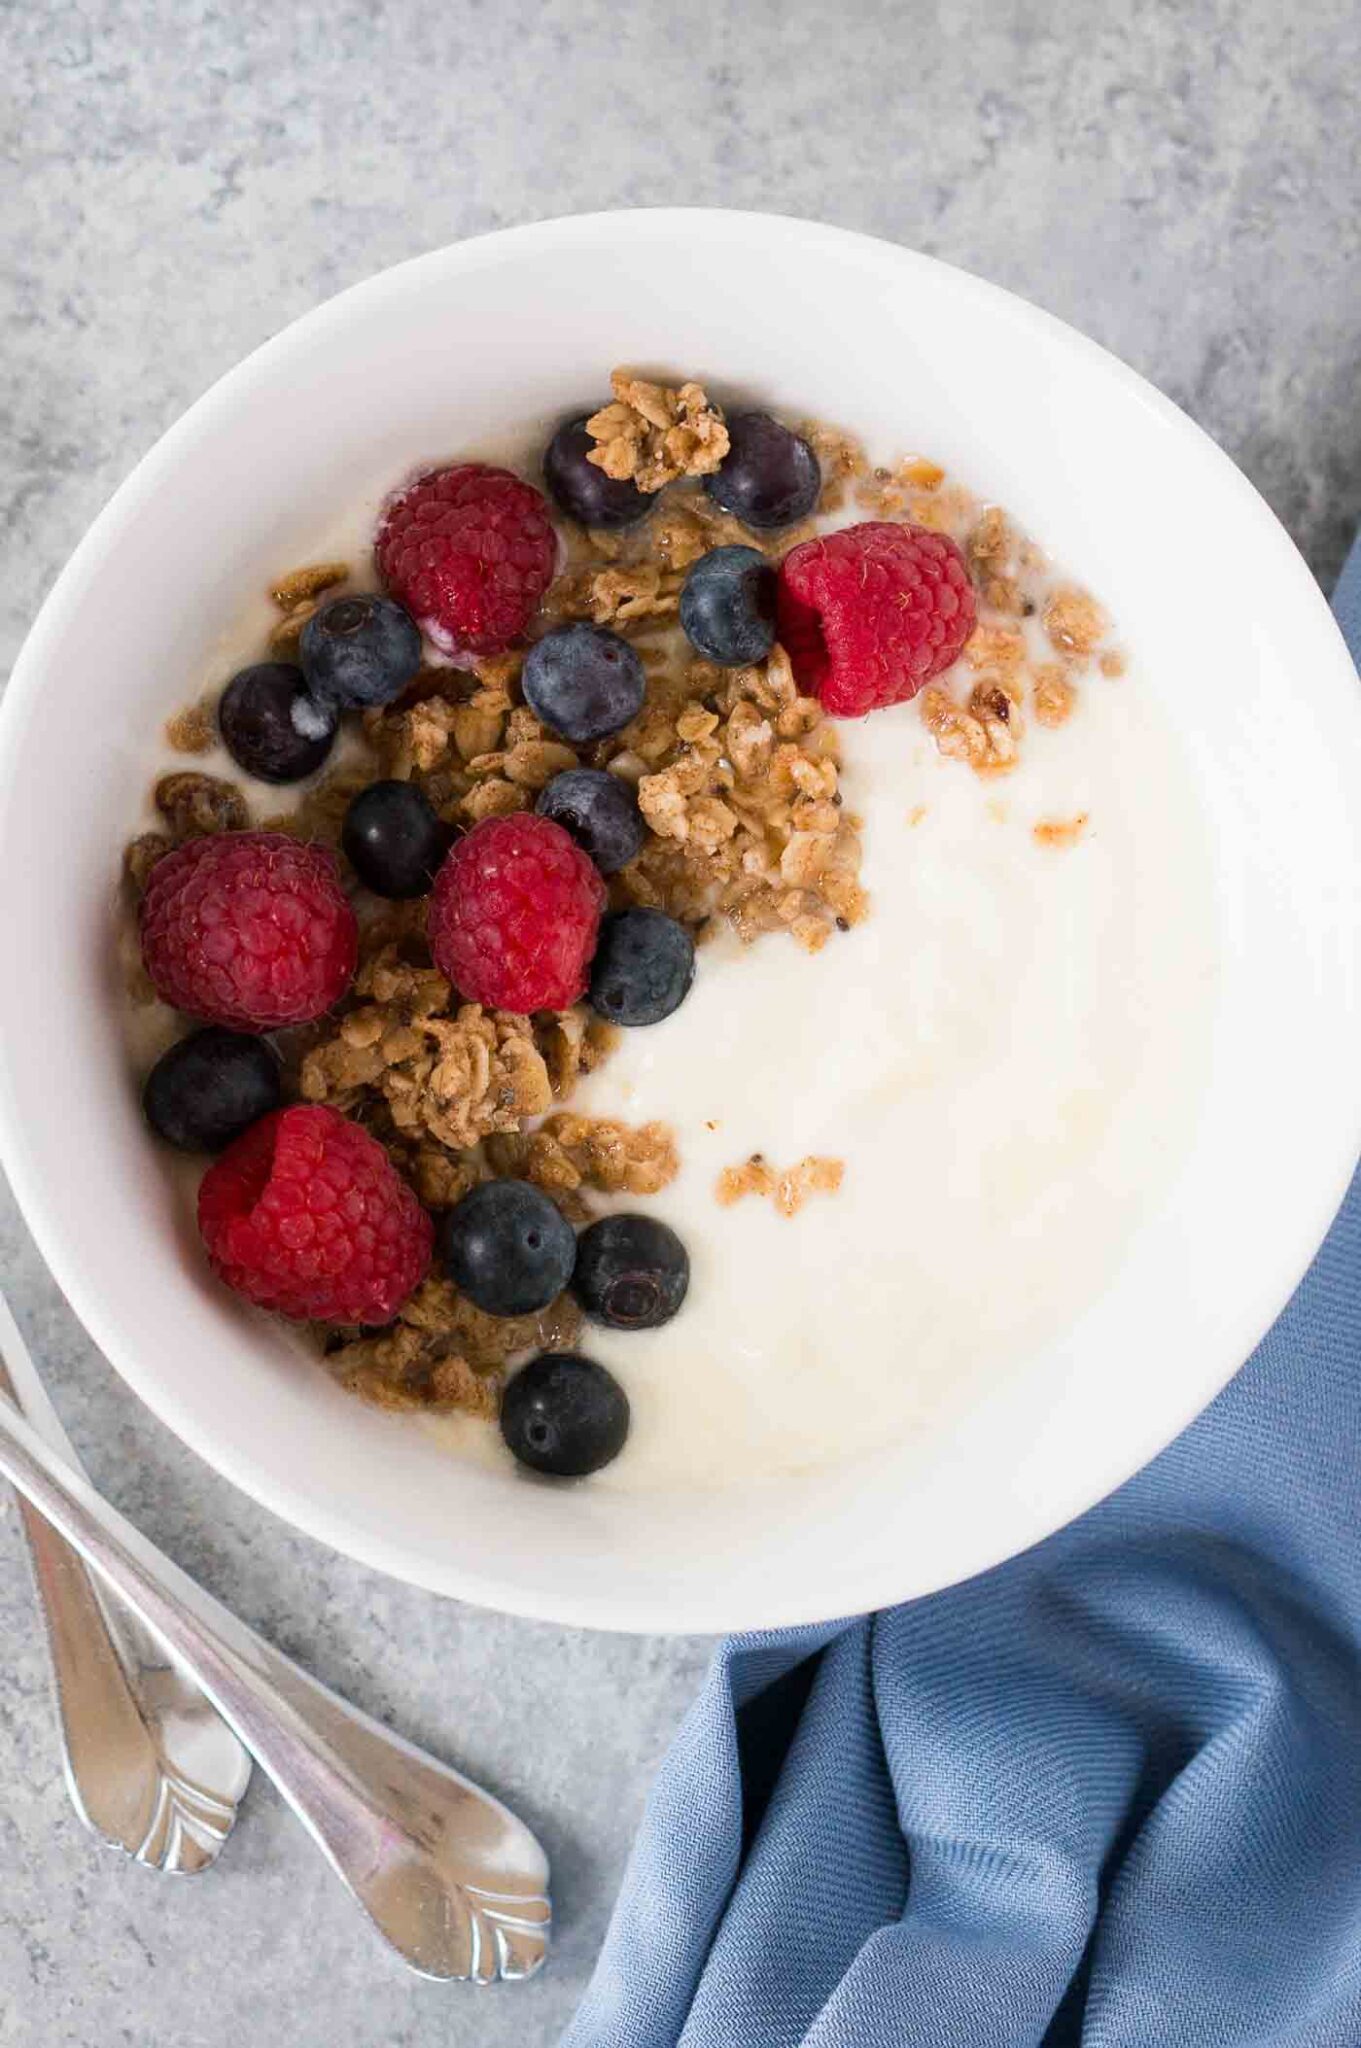
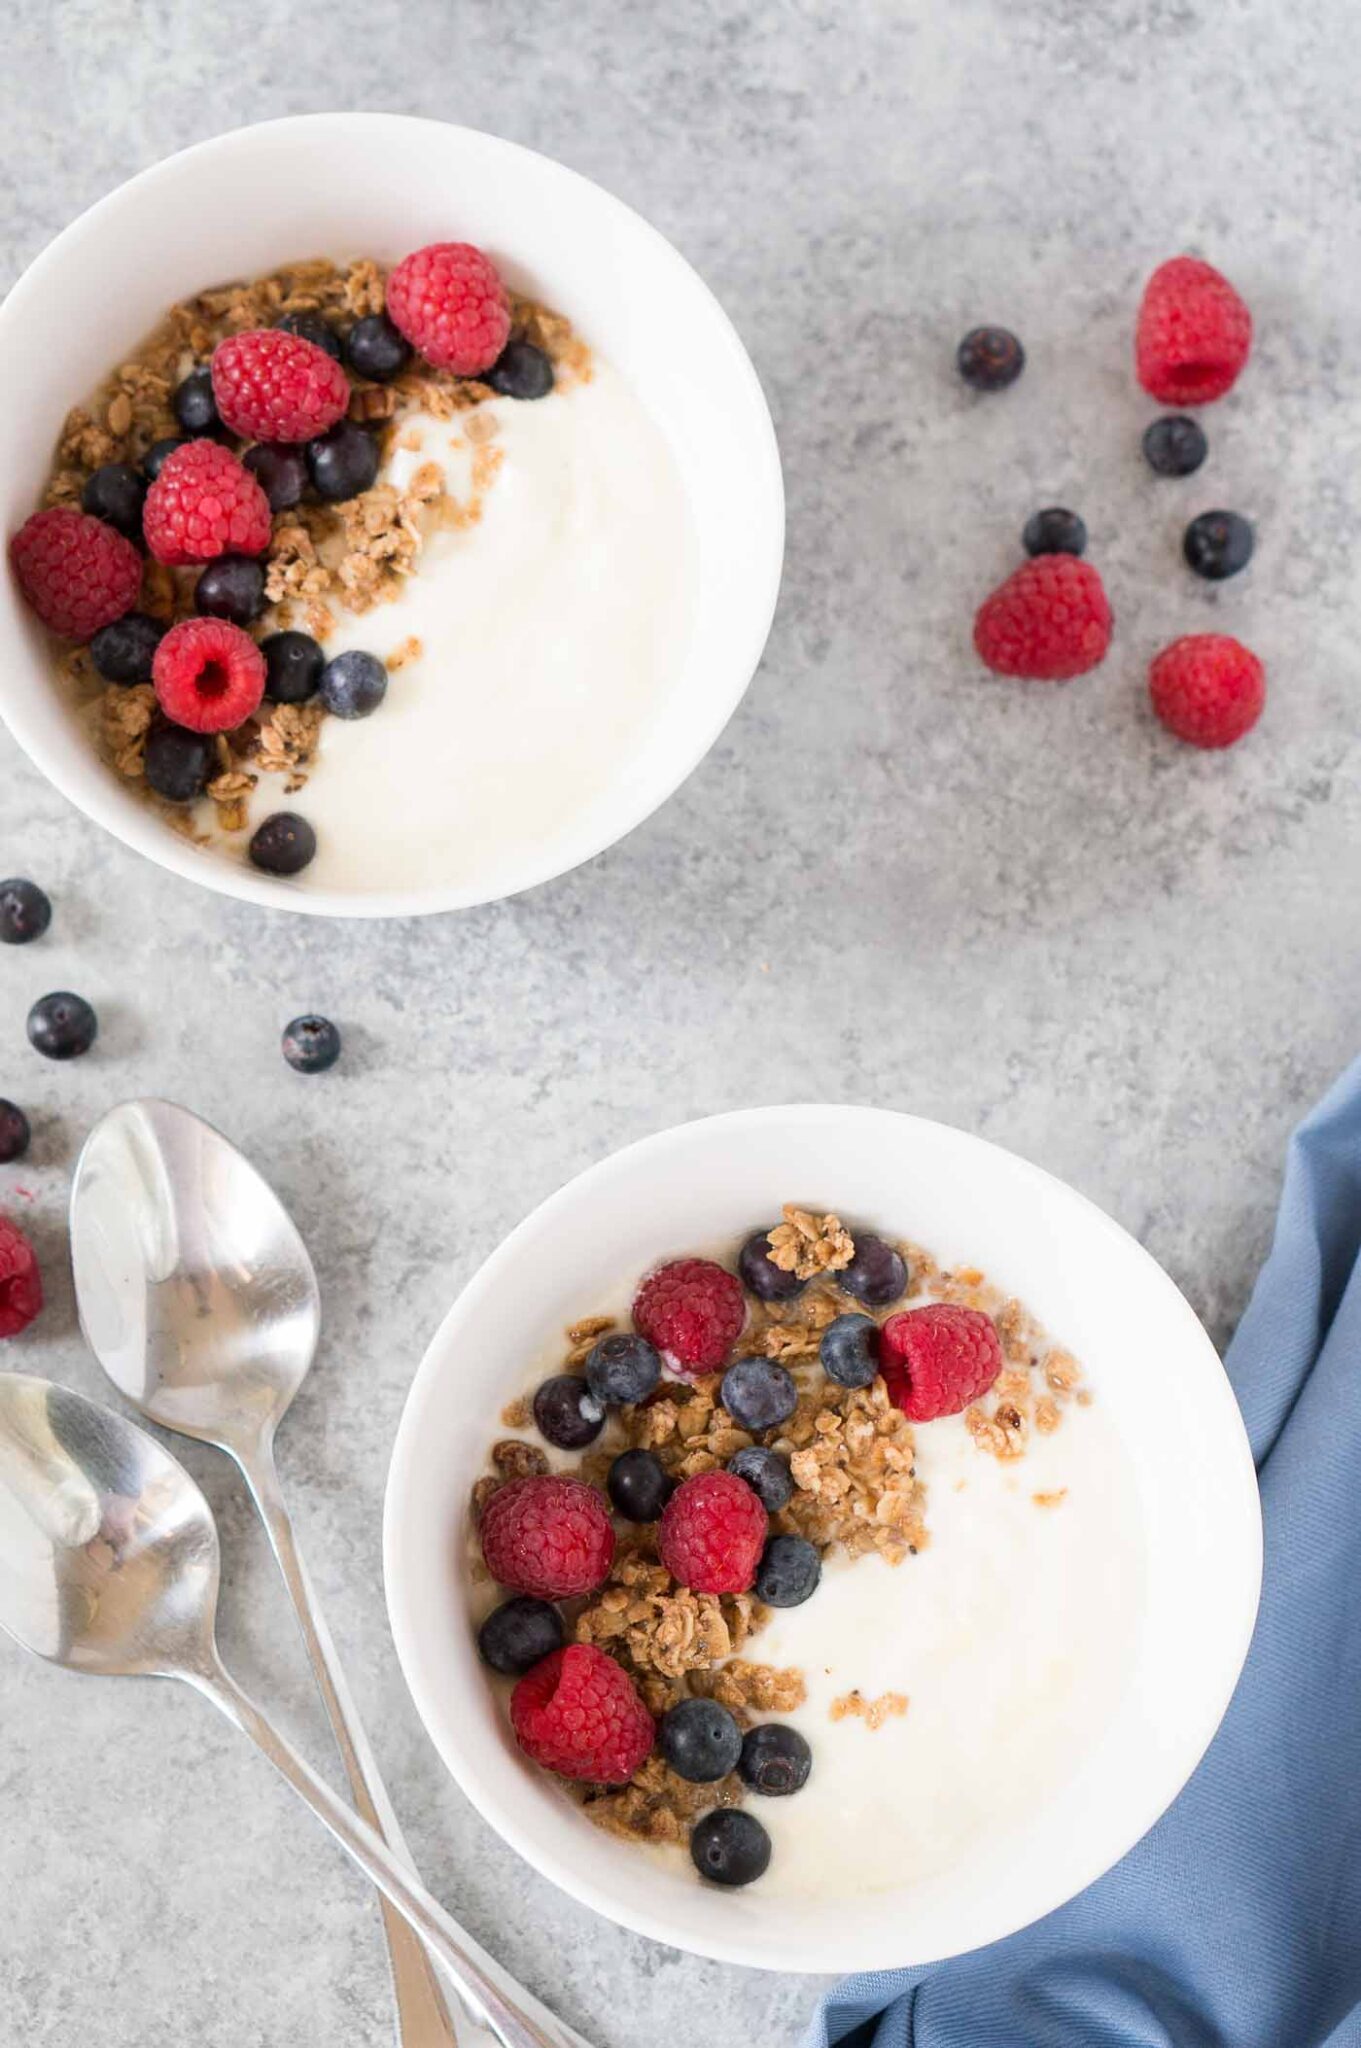
- You can serve this yogurt with homemade granola and berries on top.
Best Ways to Store Yogurt
- Refrigerate: This Instant Pot yogurt, when stored correctly, will keep well for up to 2 weeks. Keep it in sealable and clean glass jars, and keep it refrigerated.
- Freeze: You can also freeze it for up to 2 months and thaw it in the fridge overnight before eating.

Common Questions & Answers
No. This recipe requires either a yogurt starter or plain yogurt that has live cultures. Yogurt that has live active cultures will say Lactobacillus bulgaricus or Streptococcus thermophilus on the label. Without the live bacteria, this recipe will not work.
If you prefer a flavored yogurt, before refrigerating it you can stir in a teaspoon of vanilla extract for a little bit of flavor. You can also stir in sweeteners like honey or maple syrup if you like.
Just like sourdough bread, the starter can be reused, so you never have to buy yogurt again! Freeze the required amount of freshly made yogurt in ice cubes so that it’s ready to use when you want to make another batch! Thaw your yogurt cubes in the fridge overnight so as not to alter the cultures in the yogurt.
More Instant Pot Recipes
- Instant Pot Bolognese Sauce
- Instant Pot Hard Boiled Eggs
- Instant Pot Chili
- Instant Pot Chicken and Wild Rice Soup
If you enjoyed this Instant Pot Yogurt recipe or any other recipe on my blog, please leave a ⭐ star rating and let me know how it went in the 📝 comments below.
Pin this now to find it later
Pin It
☝ Tap stars to rate
Instant Pot Yogurt
Save This Recipe
Enter your email and we’ll send the recipe directly to you!
By submitting this form, you consent to receive emails from Delicious Meets Healthy.
Equipment
- IP pressure cooker
- Pyrex measuring cups
- Measuring tablespoon & teaspoon
- Food thermometer
- Silicone spatula
- Little jars
- Optional: Strainer, cheesecloth
Ingredients
- ½ gallon whole milk
- 32 grams plain Greek yogurt with active bacterial cultures, or yogurt starter , 2 tablespoons & 1 teaspoon yogurt
Instructions
- Heat milk to 180 F – 200 F. Pour the milk into the Instant Pot’s insert and close the lid. Press the “Yogurt” button and then press “Adjust” until the display says “BOIL”. It will take about 30 minutes to bring the milk to 180 F. (this will kill all undesirable microorganisms) When done, the Instant Pot will beep and the display will say “YOGT”.
- Note: If you want a little bit thicker yogurt, you can keep the lid closed for another 5 minutes.
- Remove the lid, and check that the temperature is between 180 – 200 F.
- Cool milk to 112 F – 115 F. Lift out the Instant Pot insert with the hot milk and place aside. Put a food thermometer in the milk and wait until it reaches 112 – 115 F. This can take about an hour.
- Alternatively, you can place the insert with the hot milk in a bath of ice water and don’t forget to stir the milk as the bottom will cool quicker than the milk on top. Be careful to watch the thermometer closely because the temperature will drop in about 5 minutes. And again, make sure you stir the milk.
- Note: If the temperature drops below 110 F, you will have to warm up the milk again in the Instant Pot. Press “Yogurt”, then “Adjust” and monitor until temperature is in the right range.
- Temper the yogurt starter. Place the yogurt starter in a medium bowl, add about ½ cup of the warm milk. Whisk until smooth, then pour into the insert with warm milk and whisk until well combined.
- Incubate the yogurt. Set the insert with yogurt milk mixture back in the Instant Pot and close the lid. Press the “Yogurt” button and adjust the time to 8:00 hours. Once the incubation time is over, the display will read “Yogt”.
- Don’t move the Instant Pot too much, don’t open the lid to check the yogurt until at least 6 hours have passed.
- Note: You can increase the time up to 12 hours if your like your yogurt tangier. (longer incubation time = tangier yogurt)
- Check the yogurt. Open the lid carefully and check if the yogurt is set. (It is set if it doesn’t run if you tip the pot a little bit)
- Chill the yogurt at room temperature. Remove the insert with the yogurt and place on a cooling rack on the counter to cool for a couple of hours.
- Note: Placing it immediately in the refrigerator can thin your yogurt because of the drastic temperature change.
- Chill the yogurt in the fridge. You can now place it in the refrigerator and chill it for at least 6 hours.
- Store it in the refrigerator. Once the yogurt is chilled, you can transfer it to little jars and store it for up to 2 weeks in the refrigerator.
Notes
- You can cut this recipe in half if you would like. If you have an 8-quart pressure cooker, you can also double this recipe for homemade yogurt.
- If you want thicker yogurt, you can strain it through a cheesecloth overnight.
- Let the yogurt cool at room temperature before refrigerating it. Placing it immediately in the refrigerator can thin your yogurt because of the drastic temperature change.
Nutrition
Nutrition Disclaimer: Nutritional values are estimates and may vary with ingredients, brands, and portion sizes. For accuracy, use your preferred nutrition calculator.
Disclaimer: The information provided in this recipe is for informational purposes only and should not be considered medical or nutritional advice. I am not a doctor or a dietitian. Always consult a qualified healthcare provider for personalized guidance regarding your diet or health. For more details, please read my full disclosure page.


Why can’t you use flavored yogurt? I’ve always been curious about that. If the flavored yogurt has the live cultures, won’t it still work?
The way I understand it, it’s not just whether it has live cultures or not, but it has to do with the amount of added sugars. The natural sugars in the yogurt are fine but too much sugar can inhibit the fermentation process and you won’t get the same result as with plain yogurt. Also, adding 2 Tbsp of flavored yogurt won’t flavor significantly the whole batch of homemade yogurt. That’s why I don’t see any reason to use flavored yogurt as a yogurt starter and not be able to get nice thick homemade yogurt. I prefer to add any flavorings & sweeteners afterward.