This post may contain affiliate links for which I earn a commission. Read my disclosure page here.
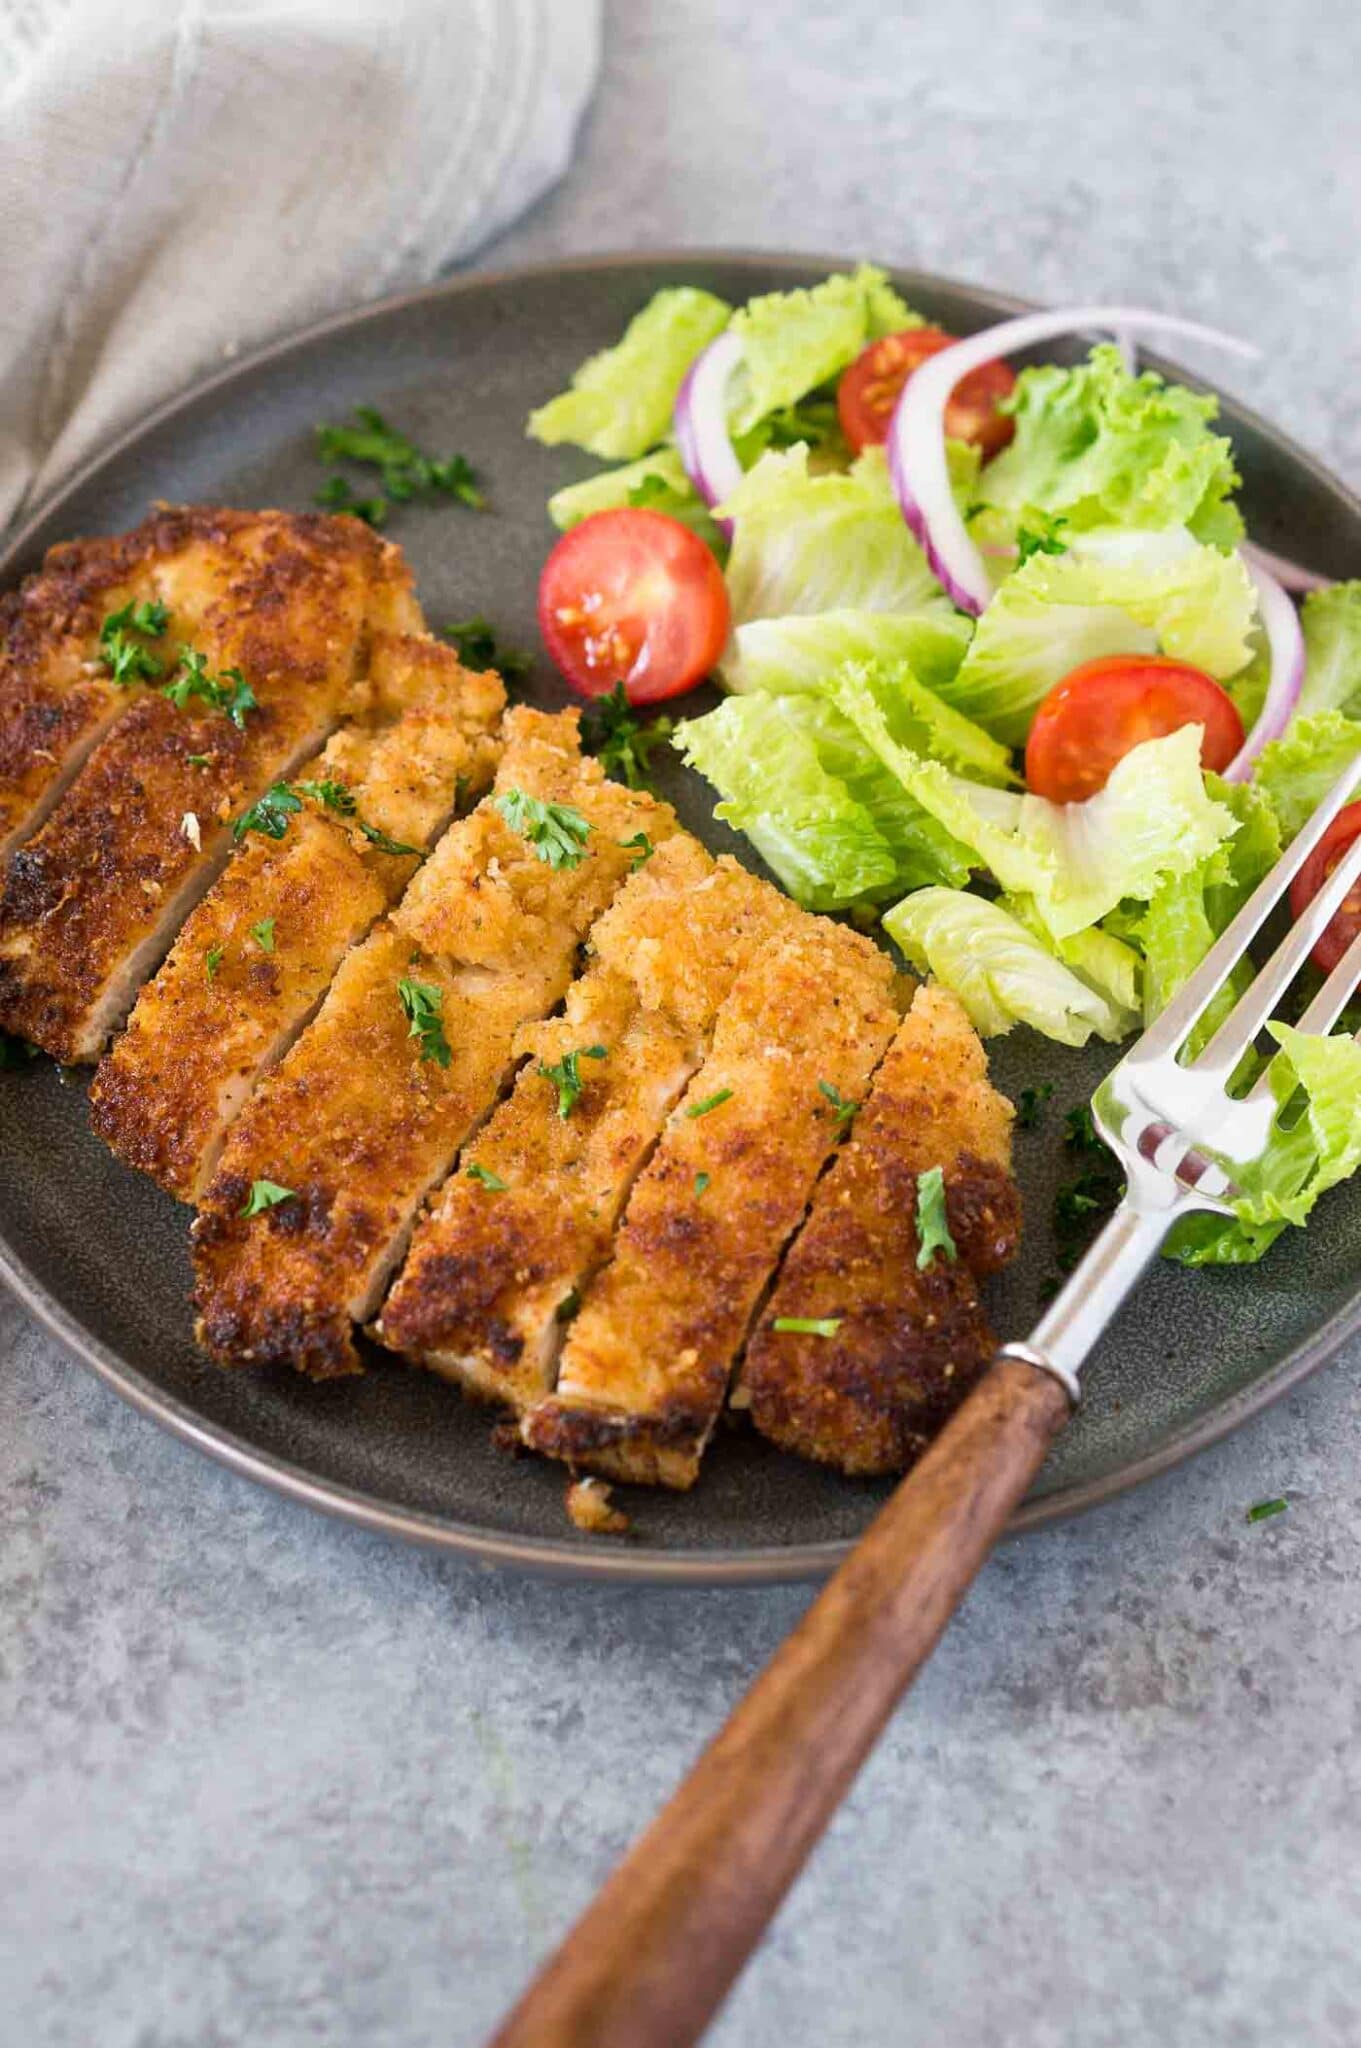
This simple chicken Milanese recipe is an easy way to add some variety to your weeknight meals. Chicken cutlets are coated in parmesan and panko breadcrumbs before being fried till crispy and golden brown.
Email Me This Recipe
Enter your email and we'll send the recipe directly to you!
By submitting this form, you consent to receive emails from Delicious Meets Healthy.
This delicious chicken recipe originates from Milan, Italy, and is so perfect in its simplicity! If you are looking for an effortless way to liven up your chicken dinners, this chicken Milanese ticks all the right boxes.
Juicy chicken cutlets are seasoned and coated in crispy breadcrumbs before being fried to perfection. Simple, quick, and most importantly delicious, there’s not much not to love about these!
Be sure to check out my Chicken Meatballs and Baked Chicken Tenders too!
Why you will love this recipe for chicken Milanese!
- Easy to make: Simply dredge the chicken breasts and fry on both sides. There’s nothing complicated in this recipe!
- Quick: These breaded chicken cutlets are quick to prep and cook. They are ready to serve in less than 30 minutes so they’re perfect for an easy weeknight meal.
- Simple ingredients: You just need a handful of everyday ingredients to make up this recipe, most of which you’ll probably all ready have to hand.
What is Chicken Milanese
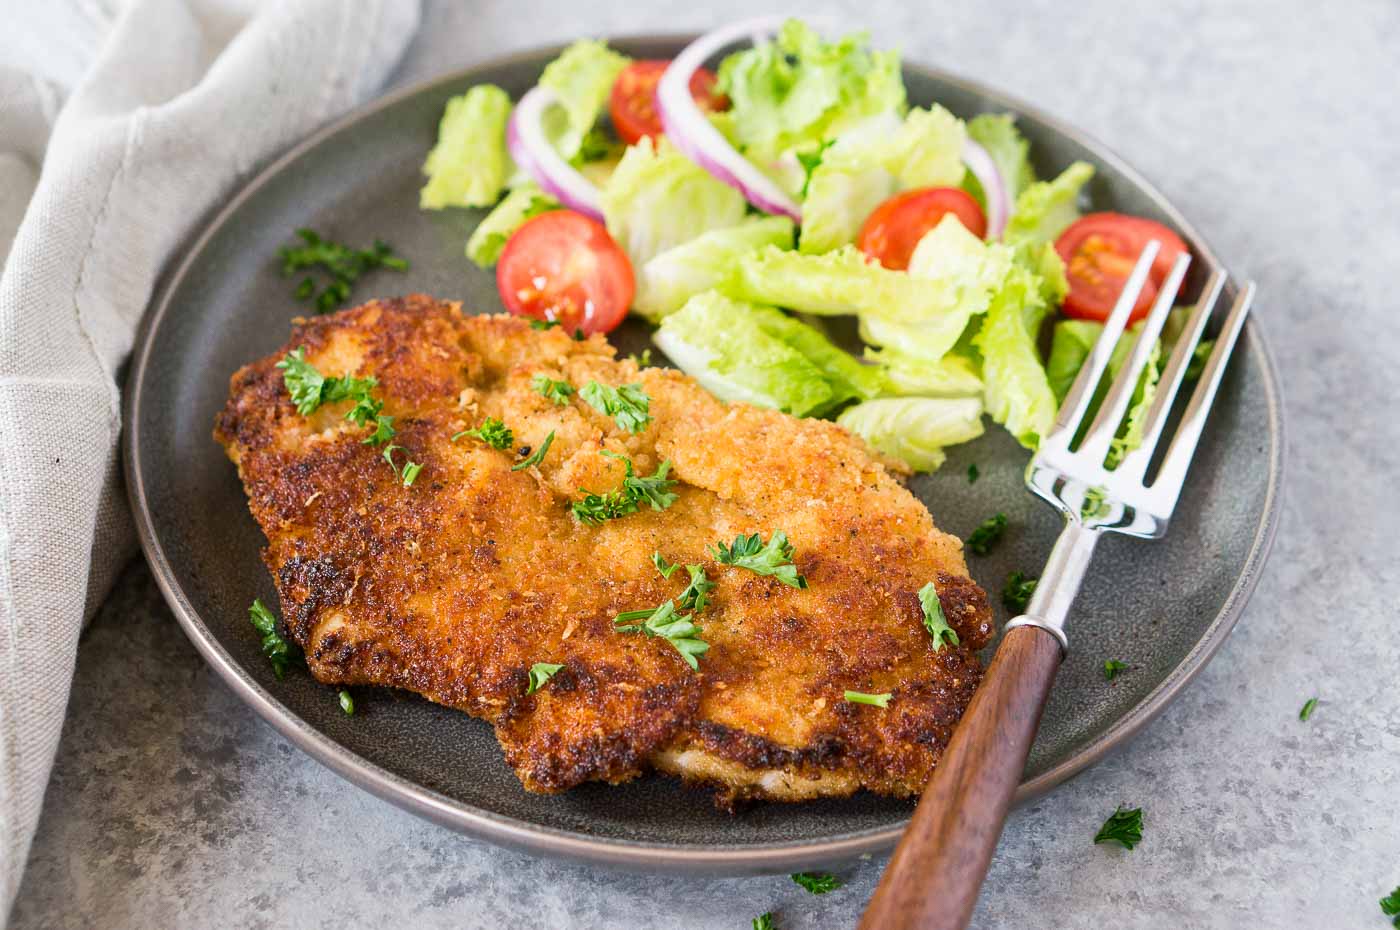
The term Milanese refers back to an Italian dish that originated in Milan and was originally prepared with thin cutlets of veal.
Milanese style chicken is thin cutlets of chicken that are breaded in a Parmesan breadcrumb mixture and pan-fried. It is usually served with lemon wedges and a light green salad.
Ingredients
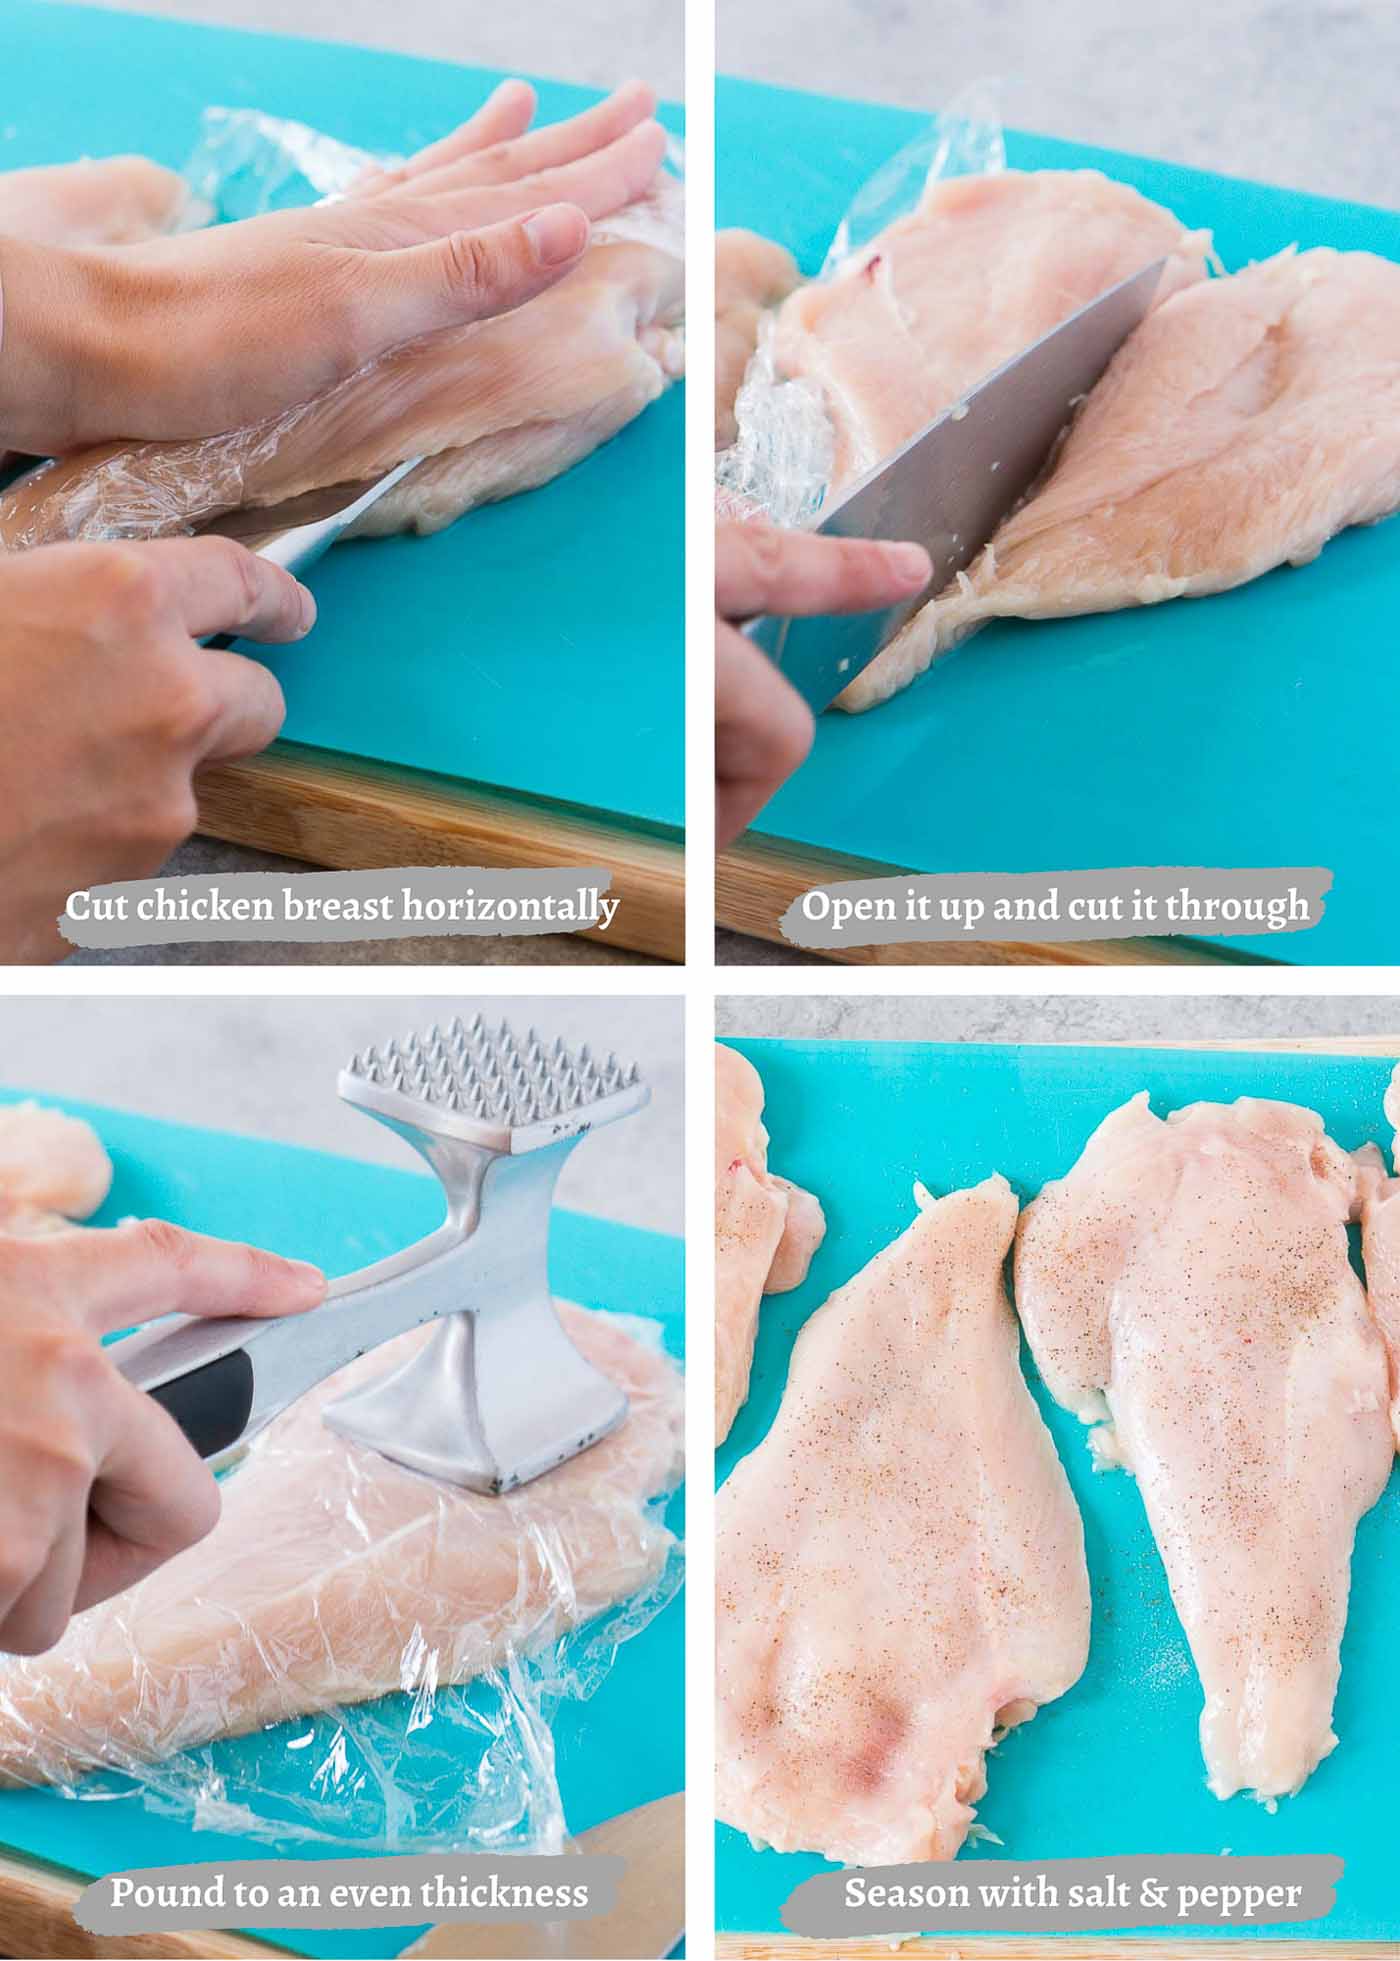
- Chicken: Chicken cutlets are perfect for this recipe as they are nice and thin and cook quickly. Alternatively, you can cut chicken breasts in half horizontally and pound them to an even thickness.
- Salt and pepper: To season the chicken.
- Flour: You can use all-purpose or a gluten-free flour to coat the chicken.
- Eggs: Beaten with a little water. Once dredged in the flour, coat with the eggs so that the breadcrumbs stick.
- Breadcrumbs: I like to use panko breadcrumbs so that they are extra crispy. You can use fine breadcrumbs but they won’t be quite as crisp.
- Parmesan: Use freshly grated parmesan for the best flavor and texture.
How to make chicken Milanese
- Season the chicken cutlets generously on both sides with salt and pepper.
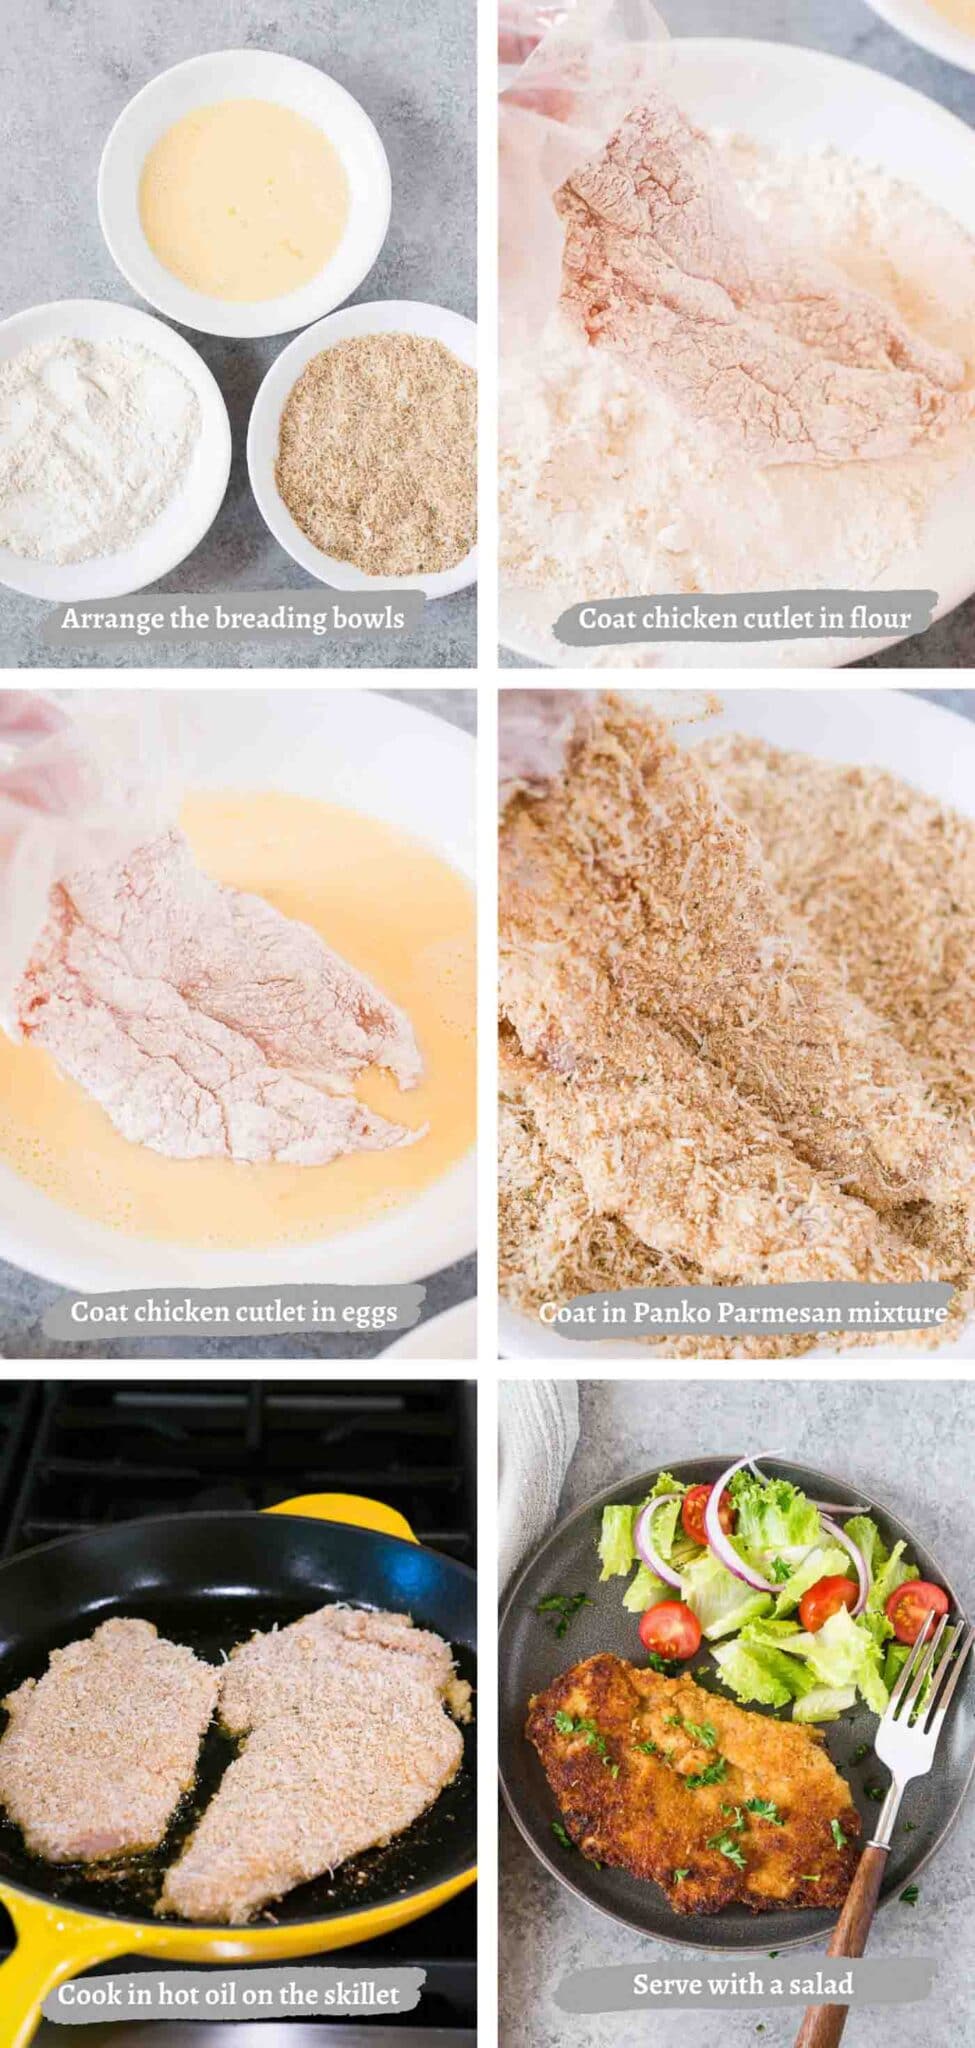
- Set out three breading bowls, and add the flour in one bowl, the eggs and water in the next, and the panko breadcrumbs and Parmesan cheese in the third bowl. Whisk the eggs and water together until combined.
- Coat each chicken cutlet in the flour, shake off the excess, then in the egg, shake off the excess, then in the panko breadcrumbs-Parmesan mixture.
- Heat olive oil in a large skillet over medium heat. When the oil is hot, add the chicken cutlets to the skillet in a single layer, cooking chicken in batches. Cook the chicken for about 4 minutes on each side, until golden and crispy. Transfer to a plate, cover with a foil and continue cooking the remaining chicken cutlets and add more oil if necessary after each batch.
How to cut chicken breasts in half
Can you oven bake instead of fry?
Frying the breaded chicken gets it really nice and crispy, but you can oven bake it if you prefer. Place on a parchment-lined baking sheet and bake in a preheated oven for 15 to 20 minutes until cooked through. You may want to spray a little oil on them so that they brown up more.
Can you make them ahead of time?
These breaded chicken cutlets are best enjoyed soon after they are fried so that the chicken is nice and juicy and the breadcrumb coating is crispy. You can dredge the chicken up to 24 hours ahead of time and keep covered in the fridge till you are ready to cook. If you do have leftovers of this chicken Milan, they will keep well for 3 to 4 days and can be reheated in the oven at 350 F for 10 minutes to warm through.
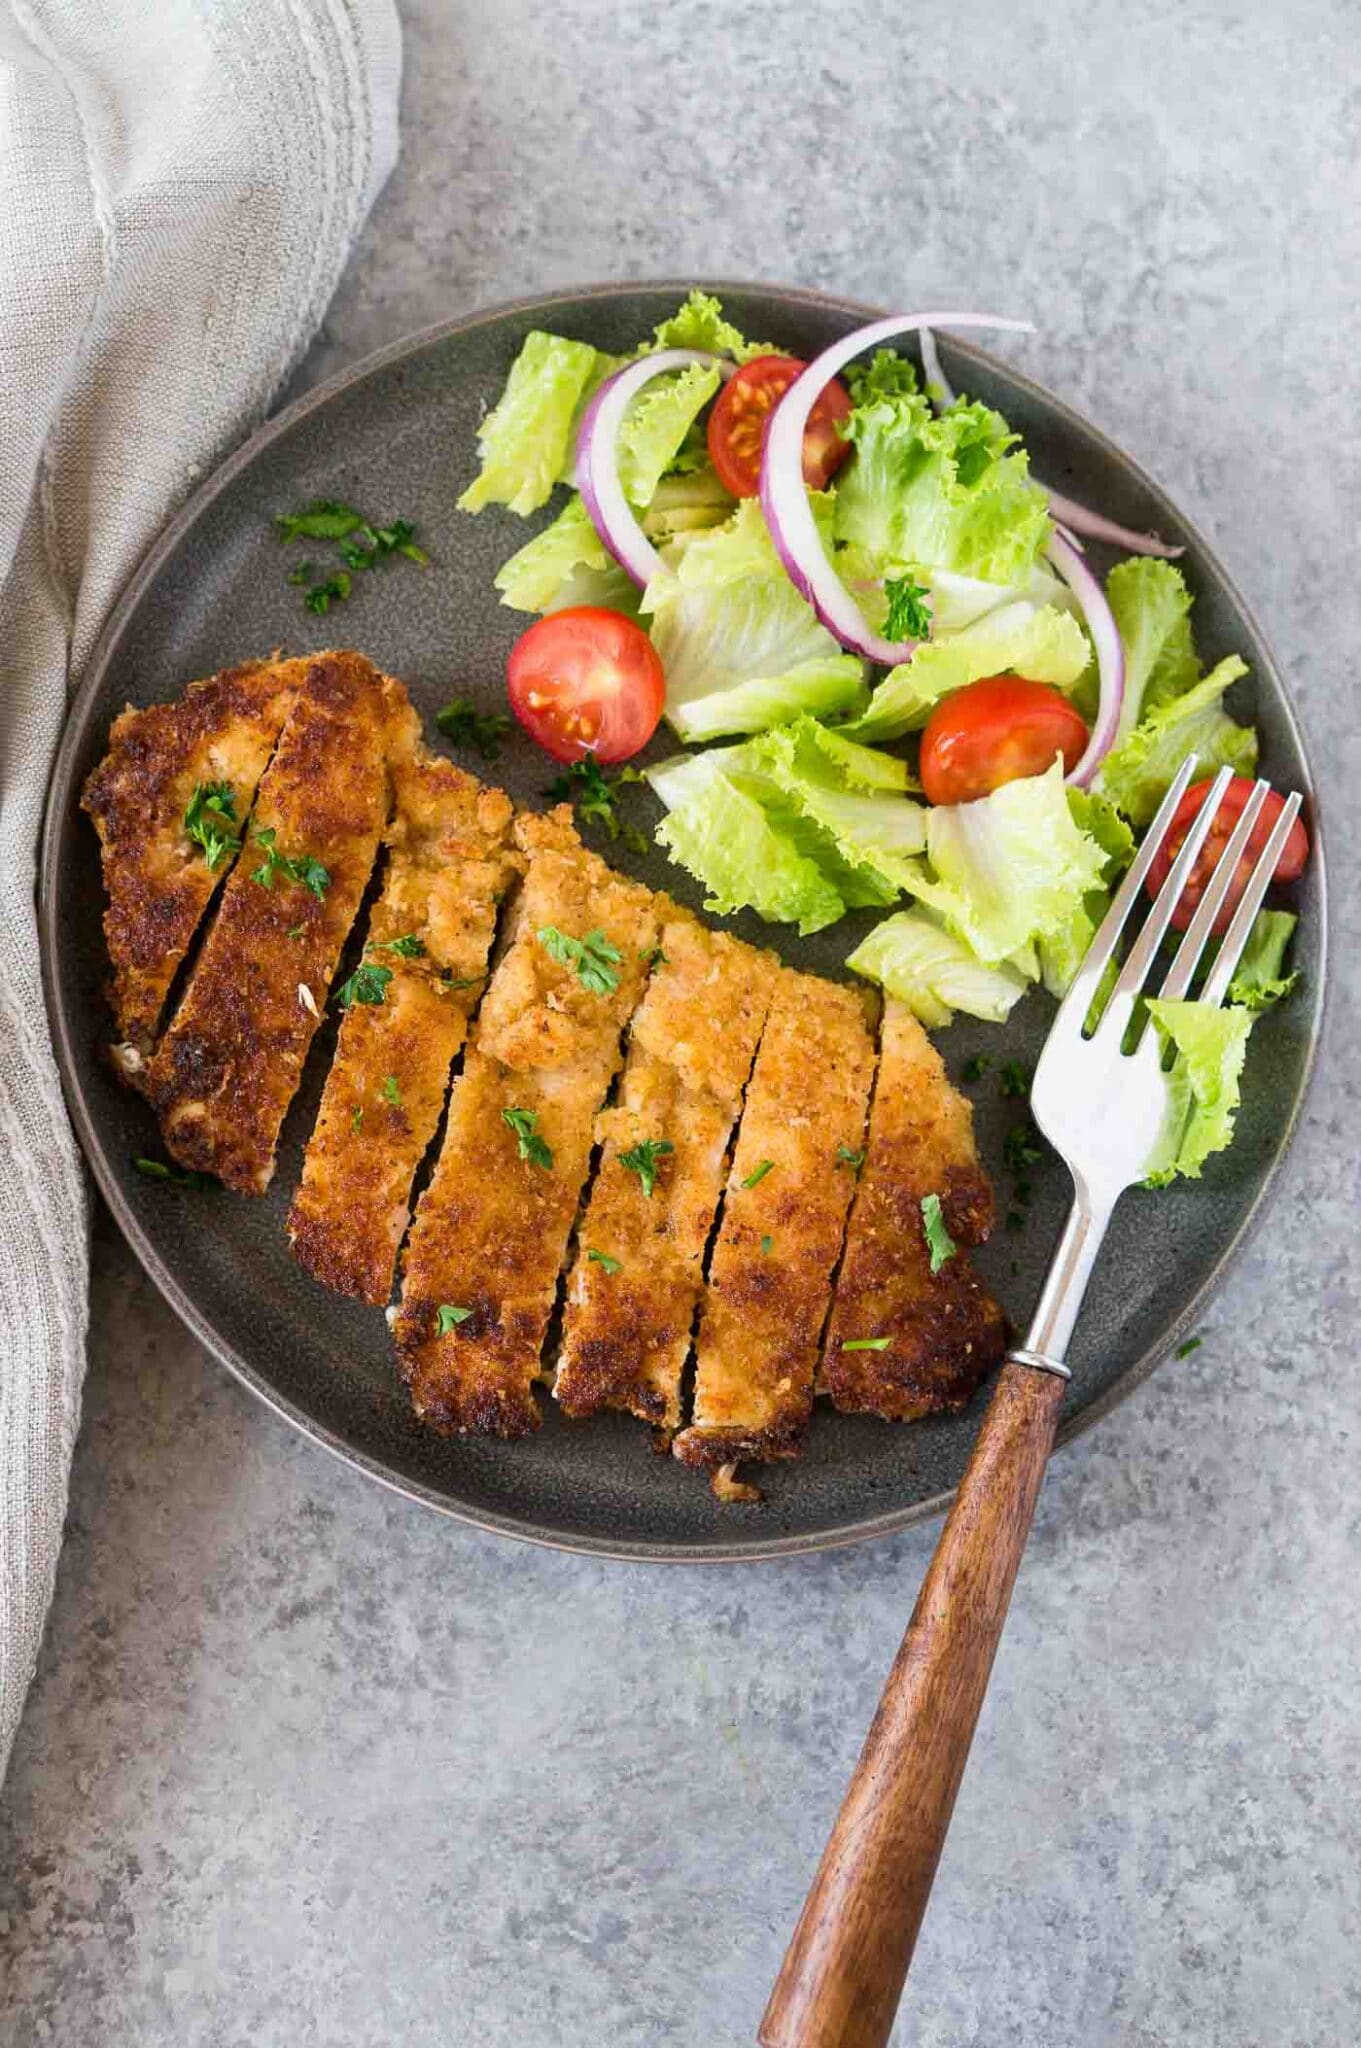
What do you serve it with?
It’s so easy to turn this chicken Milanese into a full meal, it’s great served on pasta and smothered in marinara sauce. Or, serve them as is with your favorite side salad, veggies, or potatoes. Some more side ideas:
TIPS FROM NELI’S KITCHEN
Recipe Notes and Tips
- Cut chicken breasts in half if you are using large chicken breasts. (Cut the chicken breast horizontally to make 2 two chicken cutlets and pound them to an even thickness)
- Use the flat end of a meat mallet to pound your chicken into thin slices with even thickness. This helps your chicken cook evenly and faster!
- Make sure you use freshly grated Parmesan cheese instead of buying pregrated cheese. Fresh Parmesan melts better and has a better taste.
- If you don’t have Panko breadcrumbs, you can use regular breadcrumbs but the texture will be a little bit different and the chicken won’t be as crispy on the outside.
- Coat the chicken all over with the eggs and flour and cover them evenly.
- Make sure that the oil is hot before adding the chicken to the pan.
- Let the chicken come up to room temperature before cooking it for the best texture. I like to take it out of the fridge 30 minutes before I want to make the recipe.
More Italian Chicken Recipes
- Chicken Piccata
- Chicken Caccciatore & Instant pot Chicken Cacciatore
- Italian Chicken Puttanesca
- Chicken Florentine
- Chicken Francese
Did you make this Chicken Milanesa recipe? Feel free to leave a star rating and I’d love to hear from you in the comments below!
Chicken Milanese
Email Me This Recipe
Enter your email and we’ll send the recipe directly to you!
By submitting this form, you consent to receive emails from Delicious Meets Healthy.
INGREDIENTS
- 1.5 lbs chicken cutlets , or chicken breasts cut in half horizontally & pound to an even thickness
- salt
- black pepper
- ½ cup flour, all-purpose or gluten-free
- 2 large eggs
- 2 Tablespoons water
- 1.5 cups panko breadcrumbs, gluten-free or regular
- ½ cup grated Parmesan cheese
- Extra virgin olive oil, about 1/2 cup total may be needed
INSTRUCTIONS
- Season the chicken cutlets generously on both sides with salt and pepper.
- Set out three breading bowls, and add the flour in one bowl, the eggs and water in the next, and the panko breadcrumbs and Parmesan cheese in the third bowl. Whisk the eggs and water together until combined.
- Coat each chicken cutlet in the flour, shake off the excess, then in the egg, shake off the excess, and then in the panko breadcrumbs-Parmesan mixture.
- Heat olive oil in a large skillet over medium heat. When the oil is hot, add the chicken cutlets to the skillet in a single layer, cooking chicken in batches. Cook the chicken for about 4 minutes on each side, until golden and crispy. Transfer to a plate, cover with a foil and continue cooking the remaining chicken cutlets and add more oil if necessary after each batch.
- Serve warm and with your favorite side or side salad.
TIPS & NOTES
- Butterfly chicken breasts if you are using large chicken breasts. (Cut the chicken breast horizontally to make 2 two chicken cutlets)
- Use the flat end of a meat mallet to pound your chicken into thin slices. This helps your chicken cook evenly and faster!
- Make sure you use freshly grated Parmesan cheese instead of buying pre-grated cheese. Fresh Parmesan melts better and has a better taste.
- If you don’t have Panko breadcrumbs, you can use regular breadcrumbs but the texture will be a little bit different and the chicken won’t be as crispy on the outside.
- Coat the chicken all over with the eggs and flour and cover them evenly.
- Make sure that the oil is hot before adding the chicken to the pan.
- Let the chicken come up to room temperature before cooking it for the best texture. I like to take it out of the fridge 30 minutes before I want to make the recipe.
NUTRITION
Use the tag #DeliciousMeetsHealthy when posting a picture of your recipe, and make sure to follow @deliciousmeetshealthy on Instagram!


